Migrating Your Existing Workflows to Use GitHub Apps
Dockstore 1.9.0 provides users with a way to keep their workflows automatically updated (instead of needing to manually refresh) by using GitHub apps. Here, we will go over how to migrate your existing Dockstore workflows to use our GitHub App.
GitHub App Installation
The first step to migrating a workflow is the same as adding a new workflow via GitHub Apps: install our Dockstore GitHub App in an organization or your personal account, if you have not already done so.
Installing the GitHub App is simple. Navigate to /my-tools, /my-workflows, /my-notebooks, or /my-services by navigating to My Dashboard then selecting the desired option in the left sidebar. In these screenshots, we will go via /my-tools, but the process is essentially the same for any of the other options.

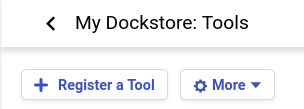
Click the Register a Tool button on the left hand sidebar.
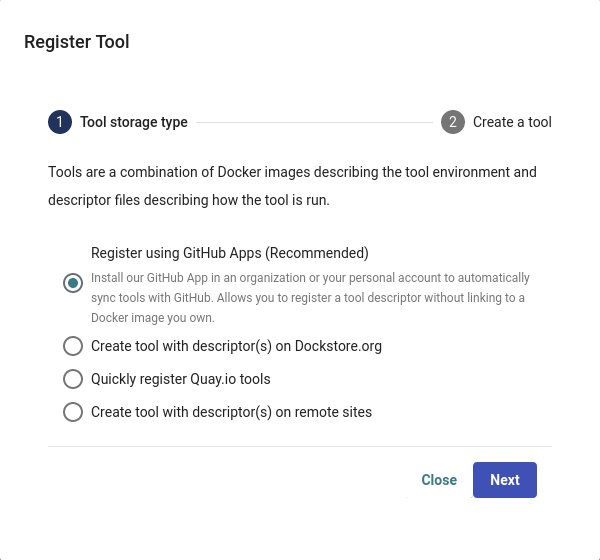
A window will appear asking how you would like to register your tool, workflow, or service. Select Register using GitHub Apps.
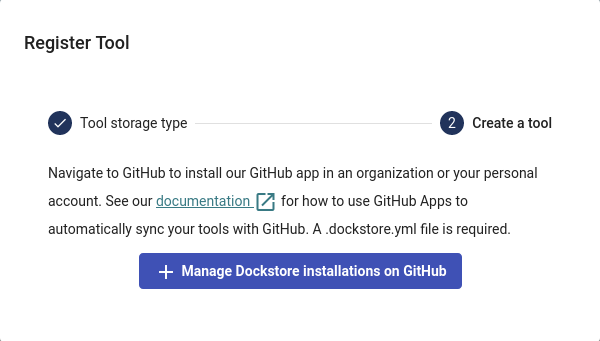
Click + Manage Dockstore Installations on GitHub.
You’ll then be redirected to GitHub where you can install the app in an organization or your personal account. For example, the username for my personal GitHub account is aofarrel. If I want to install the GitHub App so it could access aofarrel/mycoolrepo, I would choose the first option here.
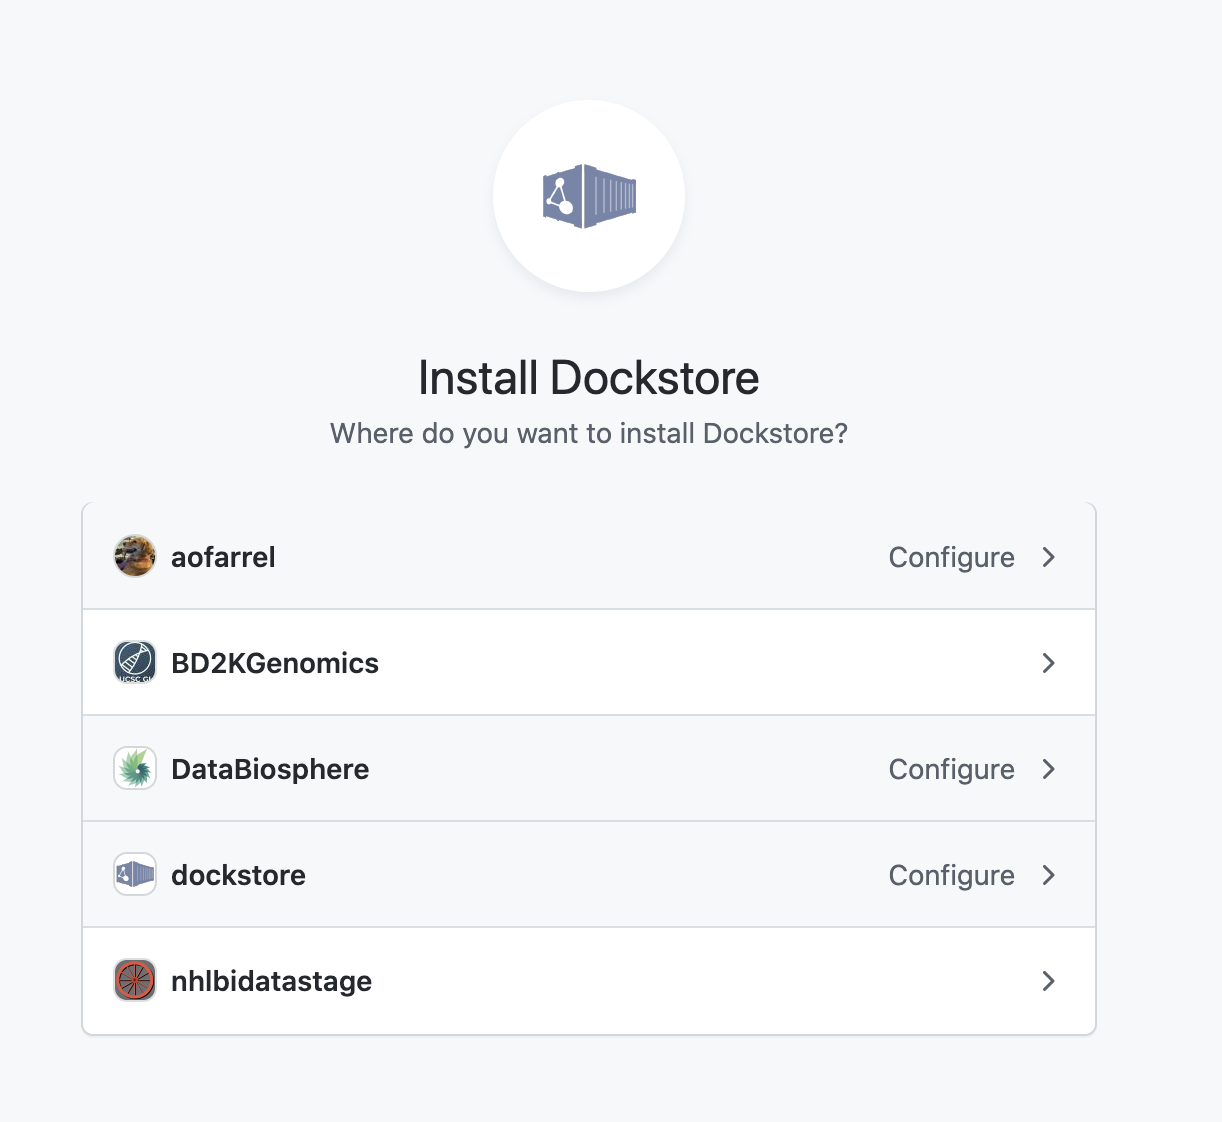
Install our GitHub App in an organization or your personal account
After selection of an organization or a personal account, you can select whether to give access to all current and future repositories or only select ones. If the organization or personal account you choose is intended to be just for Dockstore tools/workflows/services/notebooks, you may want to allow access to all repositories. Otherwise, it may be more intuitive to select only certain repositories. Click save and you will be taken back to Dockstore.
Important
The GitHub user who first adds a workflow onto Dockstore must correspond to a user on Dockstore.
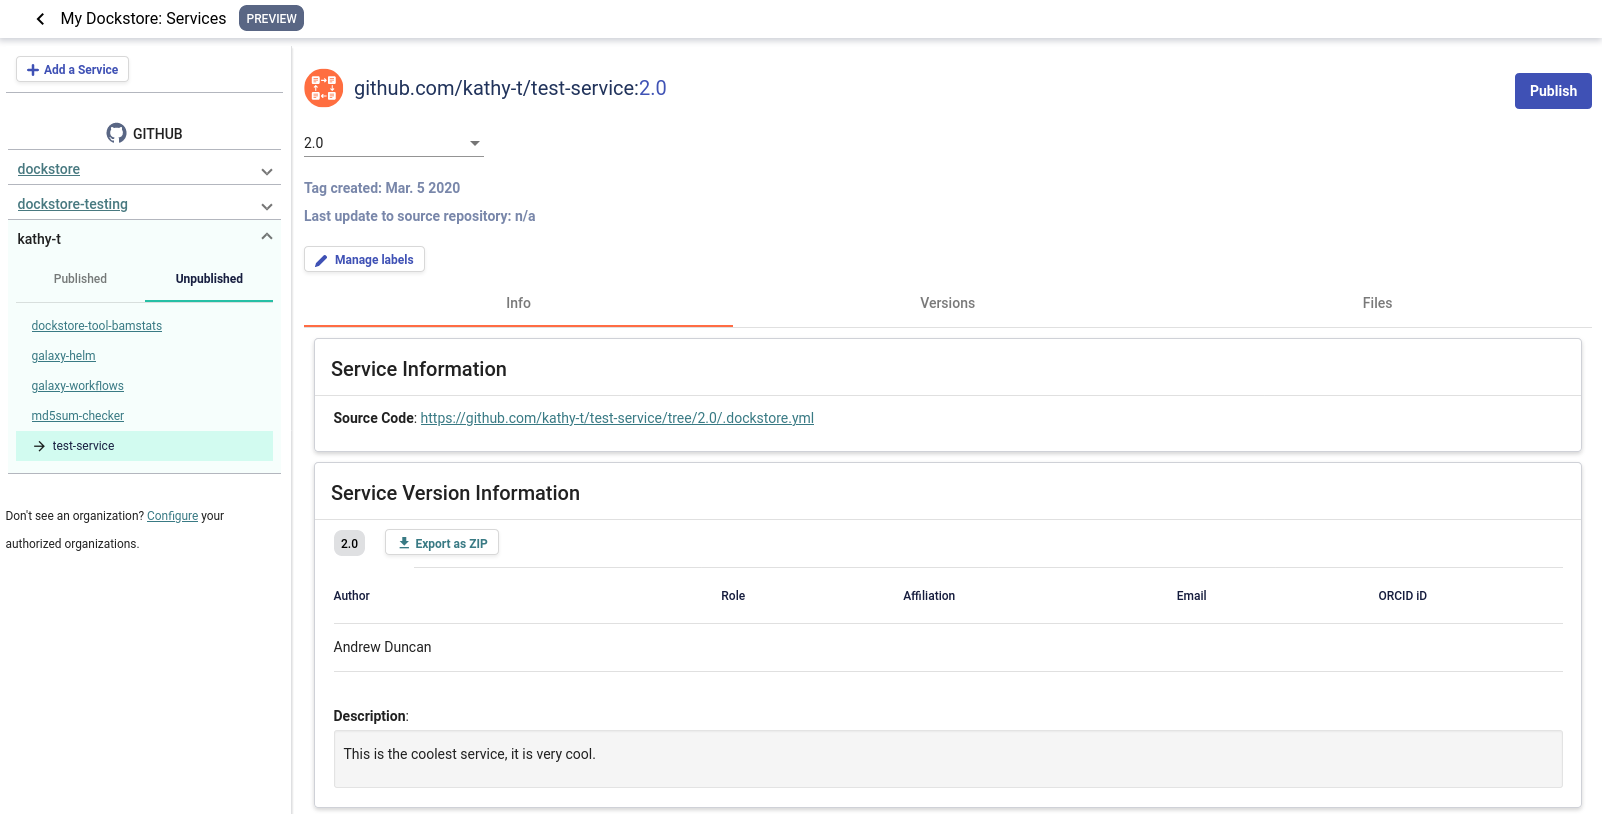
On Dockstore, under the GITHUB section, you should see the names of GitHub accounts that you have access to, such as organizations that you belong to and your personal account. If your repositories that you chose to keep track of contained a .dockstore.yml at the time of installing the GitHub App, then you will see the repositories under the GitHub personal/organization account name that it belongs to. Here’s an example involving /my-services:
A note on permissions when installing the Dockstore GitHub App to a GitHub organization
Only organization admins and repository admins can install the Dockstore GitHub App.
Organization admins will have the easiest time installing the Dockstore GitHub App because they can install it to any repository in the organization on the installation page. Users who are not organization admins can only install the Dockstore GitHub App on repositories that they are an admin of.
For more information on troubleshooting GitHub App permissions, please see this FAQ entry.
See also
Automatic Syncing with GitHub Apps and .dockstore.yml - details on writing a .dockstore.yml file
Migrating Your Existing Workflows - a tutorial on converting already registered workflows
Troubleshooting and FAQ - tips on resolving Dockstore Github App issues.
Ensuring sychronization
Upon installing the GitHub App, Dockstore will find branches in your repository that contain a .dockstore.yml and attempt to register your workflows, tools, services, and notebooks. There may be some cases where Dockstore is unable to find all branches containing a .dockstore.yml, for example, if the GitHub repository has many branches.
If your workflow, tool, service, or notebook is not showing up on Dockstore after 5 minutes, push one additional commit to the branch in your repository that contains the .dockstore.yml that’s not being synchronized. Dockstore will synchronize the branch that was updated, which helps make sure that your workflows, tools, services, and notebooks show up in Dockstore.
If your workflow, tool, service, or notebook still doesn’t show up, check the GitHub App logs to see if Dockstore encountered an error while processing your .dockstore.yml.
A Note on Naming Workflows on Dockstore
Workflow paths are unique, descriptive identifiers for a workflow. In other words, each workflow on Dockstore has a unique identifier in the form of a path. This path is based on the Git repository that the workflow comes from. There are four components to a path, but only three are required. It has the following structure:
<source-control>/<organization-name>/<repository-name>/<optional-workflow-name>:<version-name>
Why not simply use a number to identify the workflow? With a path like that shown above, users can quickly understand the purpose of a workflow along with where it came from.
Ex. If I had a GitHub repository called BAMstats that existed in the OICR organization, and I did not give the workflow an optional name, the path of the workflow created from that repository would be the following:
github.com/OICR/BAMstats
The final optional component for the workflow path is the workflow name, which is a user-defined string that will be appended to the end of the required workflow path. It can contain letters, numbers, internal hyphens, and internal underscores, but no spaces or other characters.
A workflow name is useful in two situations:
The name of the repository doesn’t represent the workflow, or
The repository contains multiple workflows
Using the previous example, we could set the workflow name to coverage. Our path would now be:
github.com/OICR/BAMstats/coverage
If we set the workflow name, we must include it in our path when referencing the workflow. You also should be aware of a workflow’s name when it comes to migrating a workflow registered via legacy methods to GitHub App registration methods. During the migration process, be sure to include the workflow’s name as a field on your .dockstore.yml file.
Creating a .dockstore.yml File
Once the GitHub app is installed and given access to the correct repository, the next step is to create a .dockstore.yml file. We’ll cover a very straightforward example first, but depending on how you configured the workflow during registration and whether your GitHub repository houses multiple workflows published on Dockstore, there will be additional steps to writing your .dockstore.yml file.
Let’s say we have the following CWL workflow registered on Dockstore that came from this repository and you would like to convert the master branch.
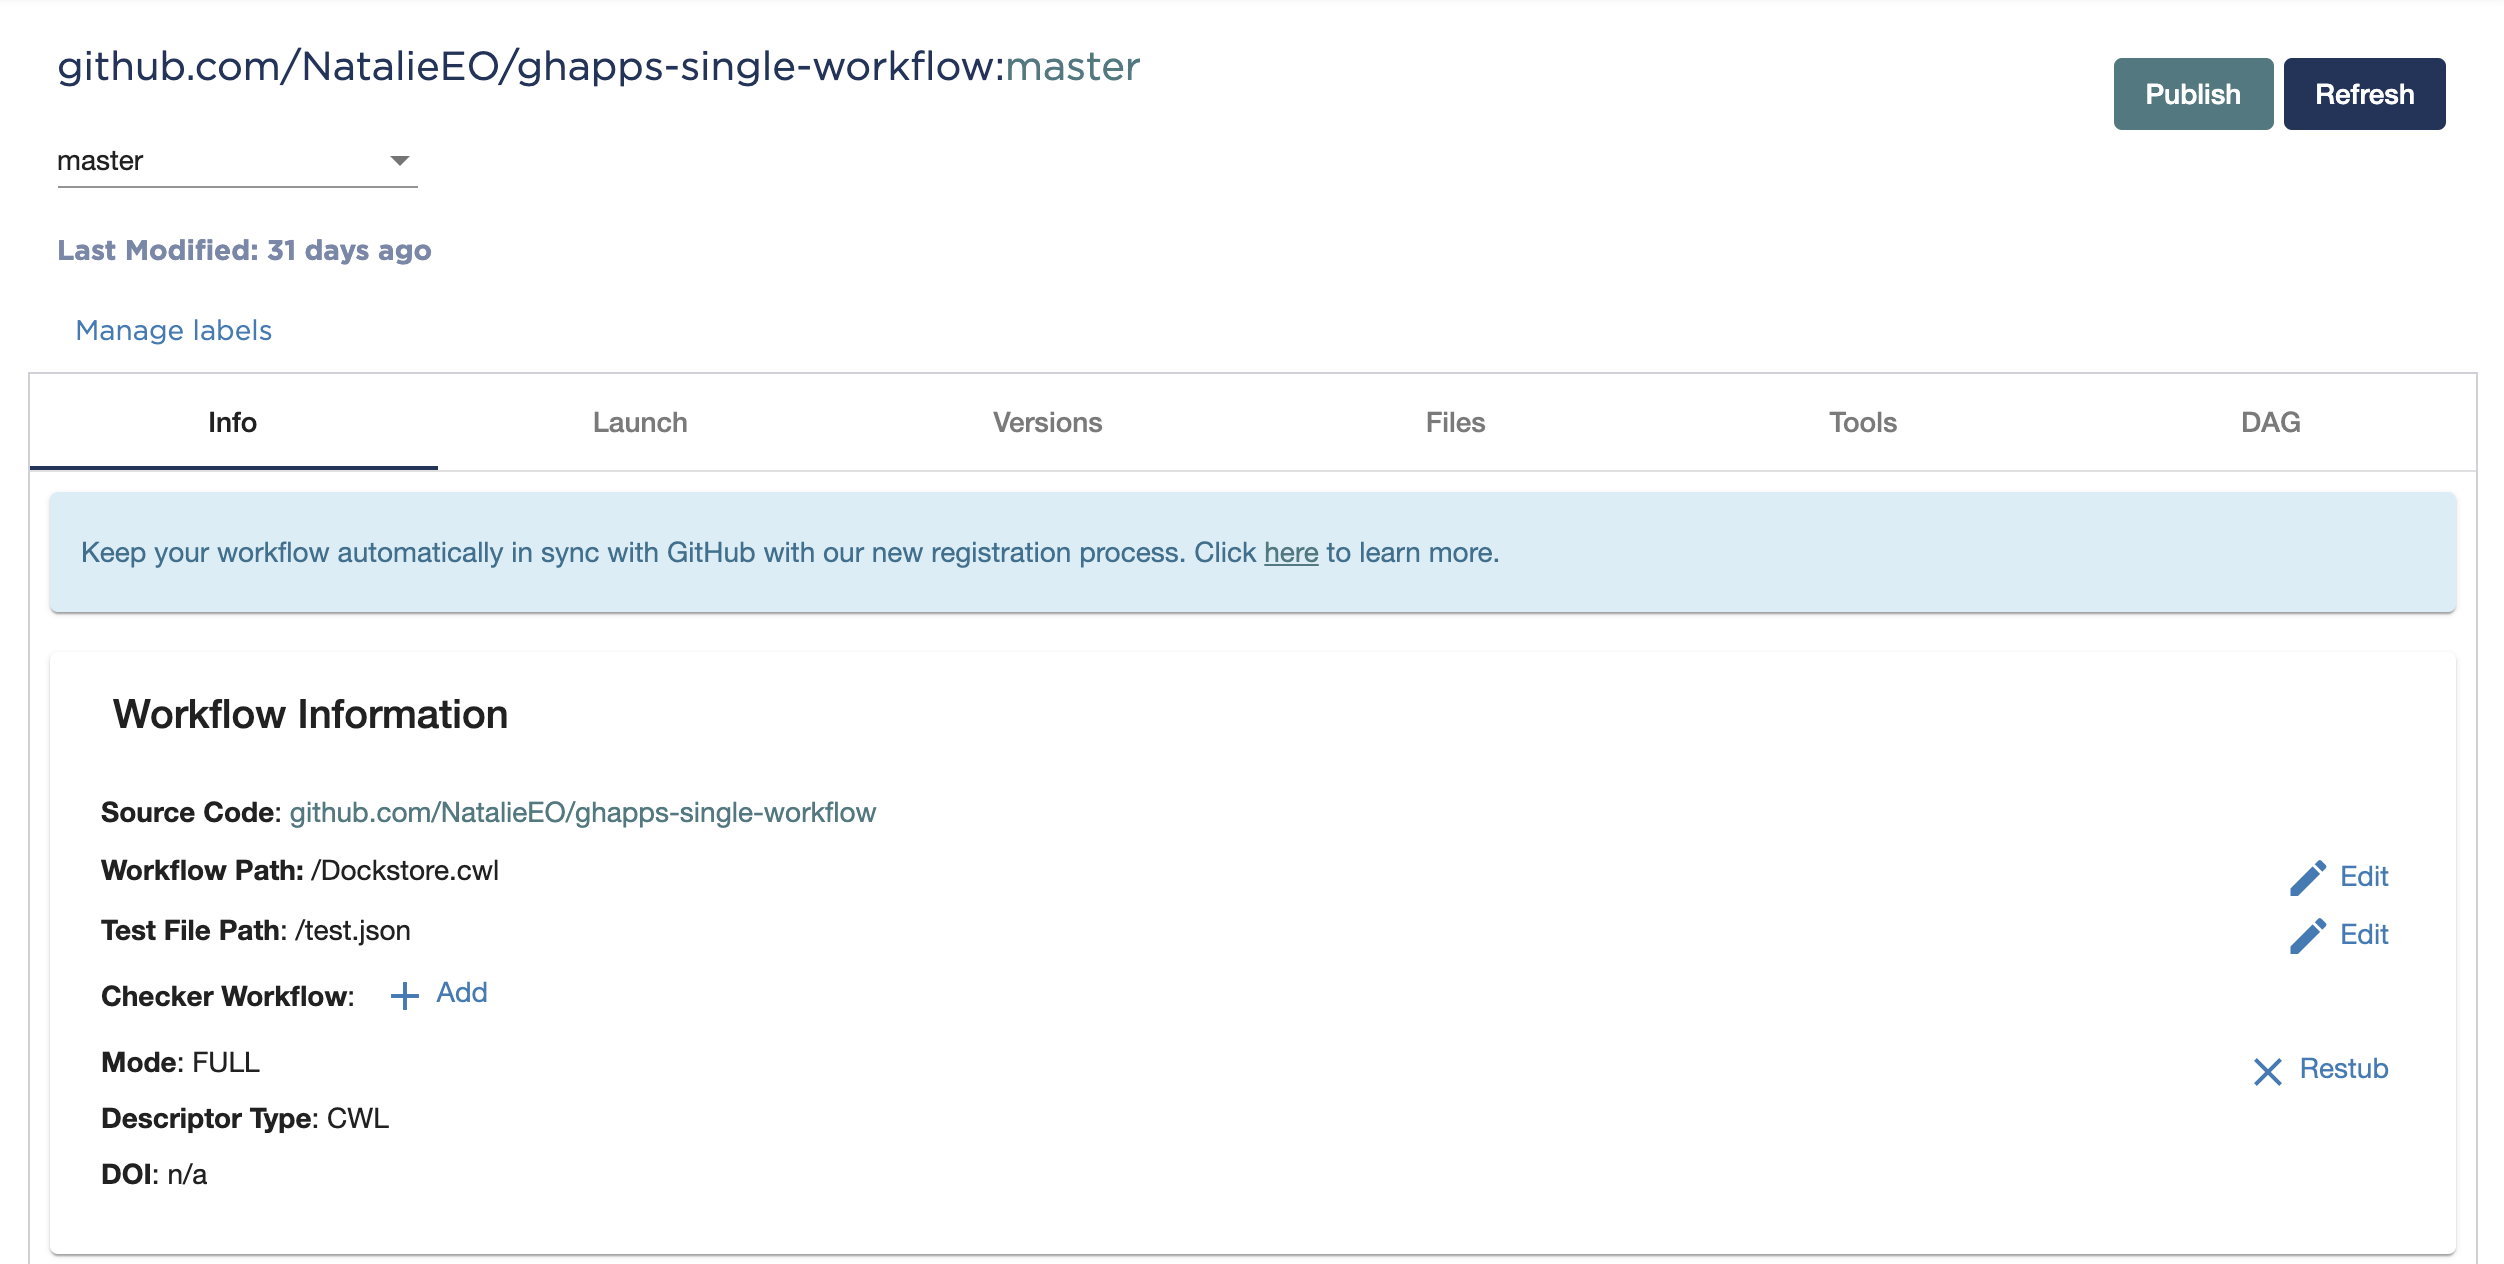
As noted in our other documentation, create a .dockstore.yml file in the root directory of the branch you want to migrate (in this example, it’s the master branch) in your repository. The file should look like the following
version: 1.2
workflows:
   - subclass: CWL
     primaryDescriptorPath: /Dockstore.cwl
     testParameterFiles:
         - /test/dockstore.cwl.json
     topic: A short description of the workflow
The information above was filled out using the following:
subclassis taken from theDescriptor TypeprimaryDescriptorPathis fromWorkflow PathtestParameterFilesis fromTest File Pathtopicis a short text description of the workflow, 150 characters or less.
During the original registration for your workflow, you may have filled out the Workflow Name field shown in the picture below.
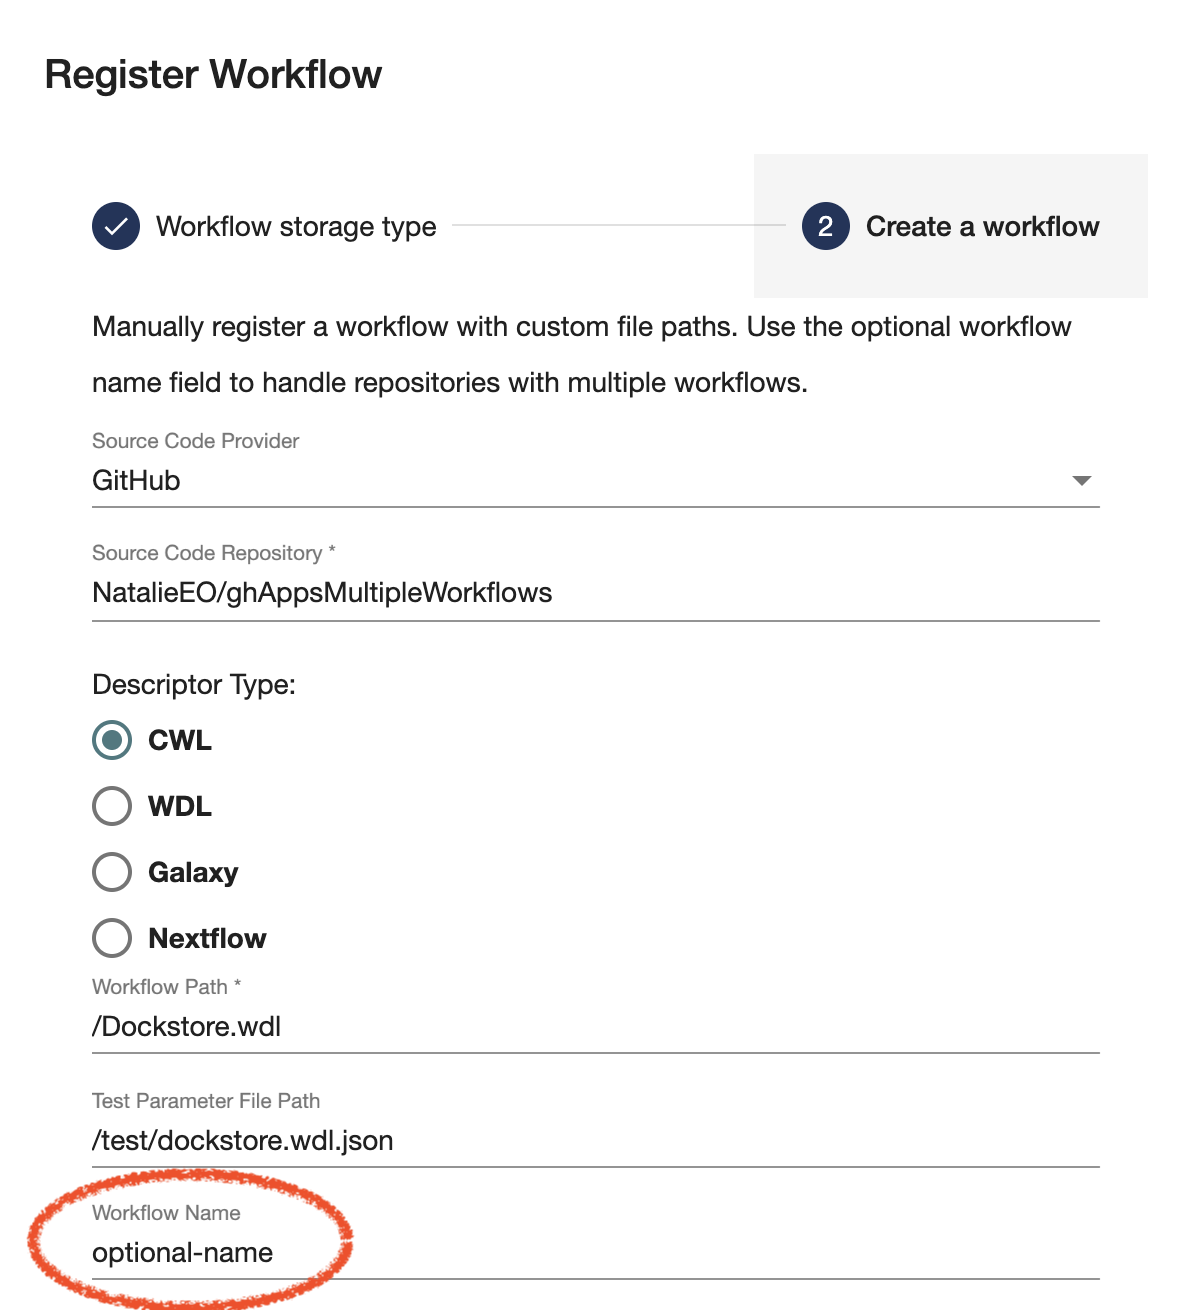
To check if the workflow you want to migrate has a workflow name set, select the workflow and look at the title on top, seeing if it has a fourth component to its title. As mentioned above, if you see a workflow name inserted, you must include the name field in your .dockstore.yml file.
version: 1.2
workflows:
   - subclass: CWL
     primaryDescriptorPath: /Dockstore.cwl
     testParameterFiles:
         - /test/dockstore.cwl.json
     name: optional-name
     topic: A short description of the workflow
If you have multiple workflows registered on Dockstore that stem from the same GitHub repo, a single .dockstore.yml can be used to convert them.
Again, you need to check for the Workflow Name field being set because it’s needed for multi workflow repositories.
If the name field in the dockstore.yml doesn’t match the Workflow Name field in Dockstore, the migration of your workflow on Dockstore will not go through and it will instead create a new Dockstore entry.
Let’s say we want to convert these two workflows that come from this repository.
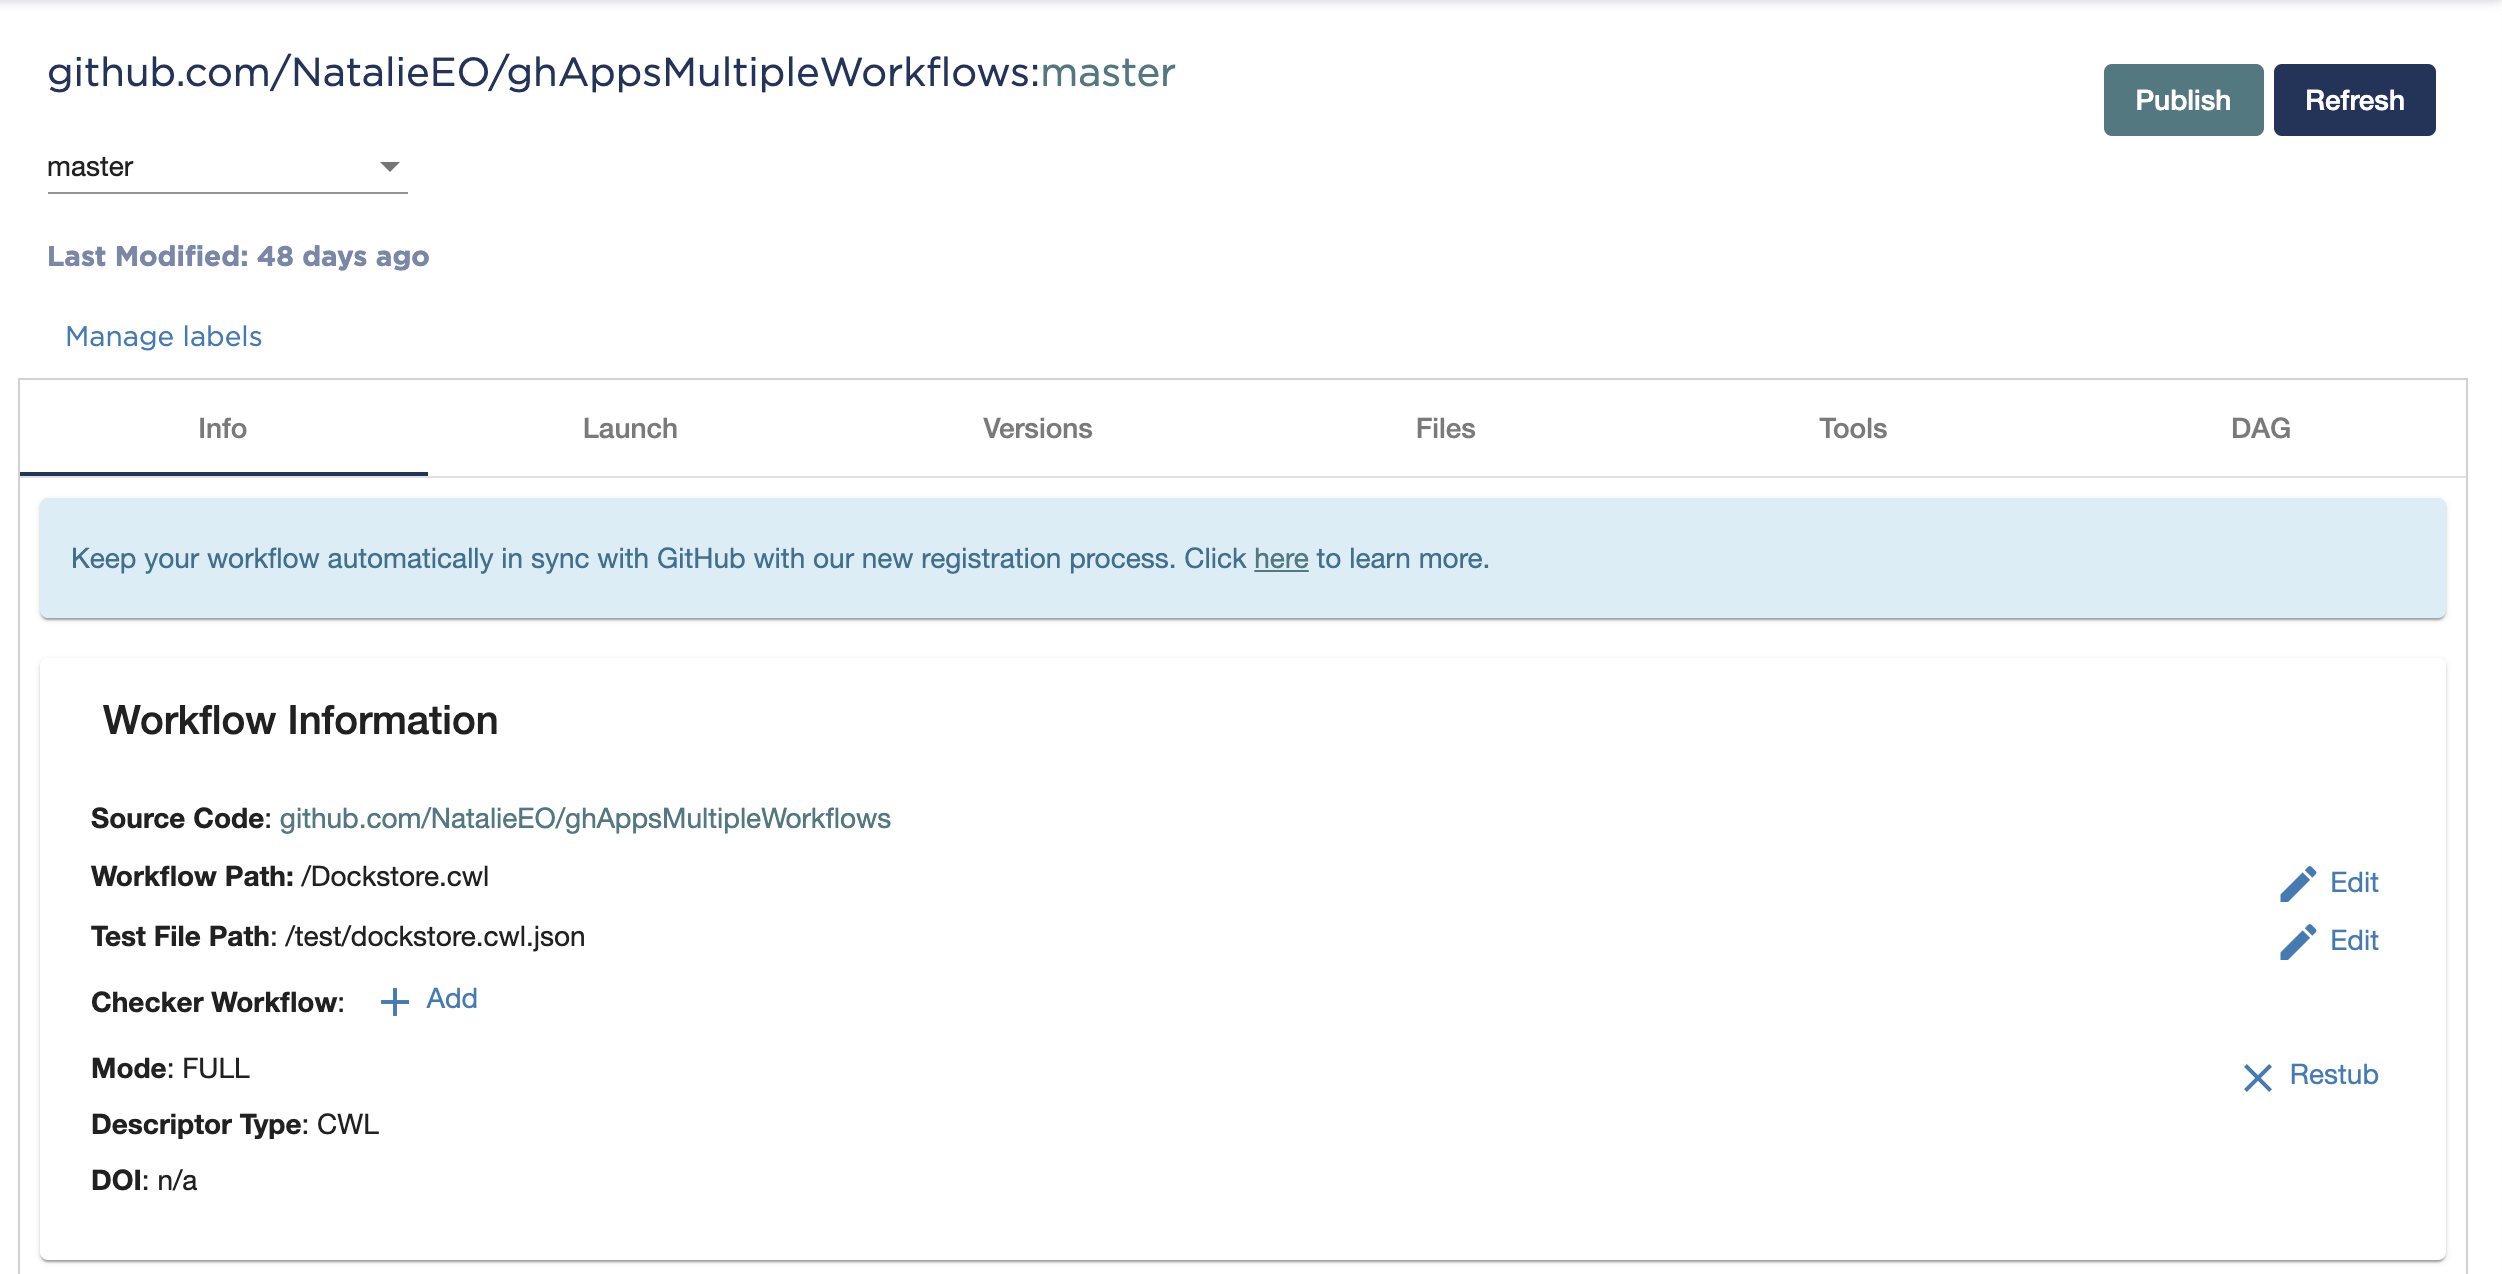
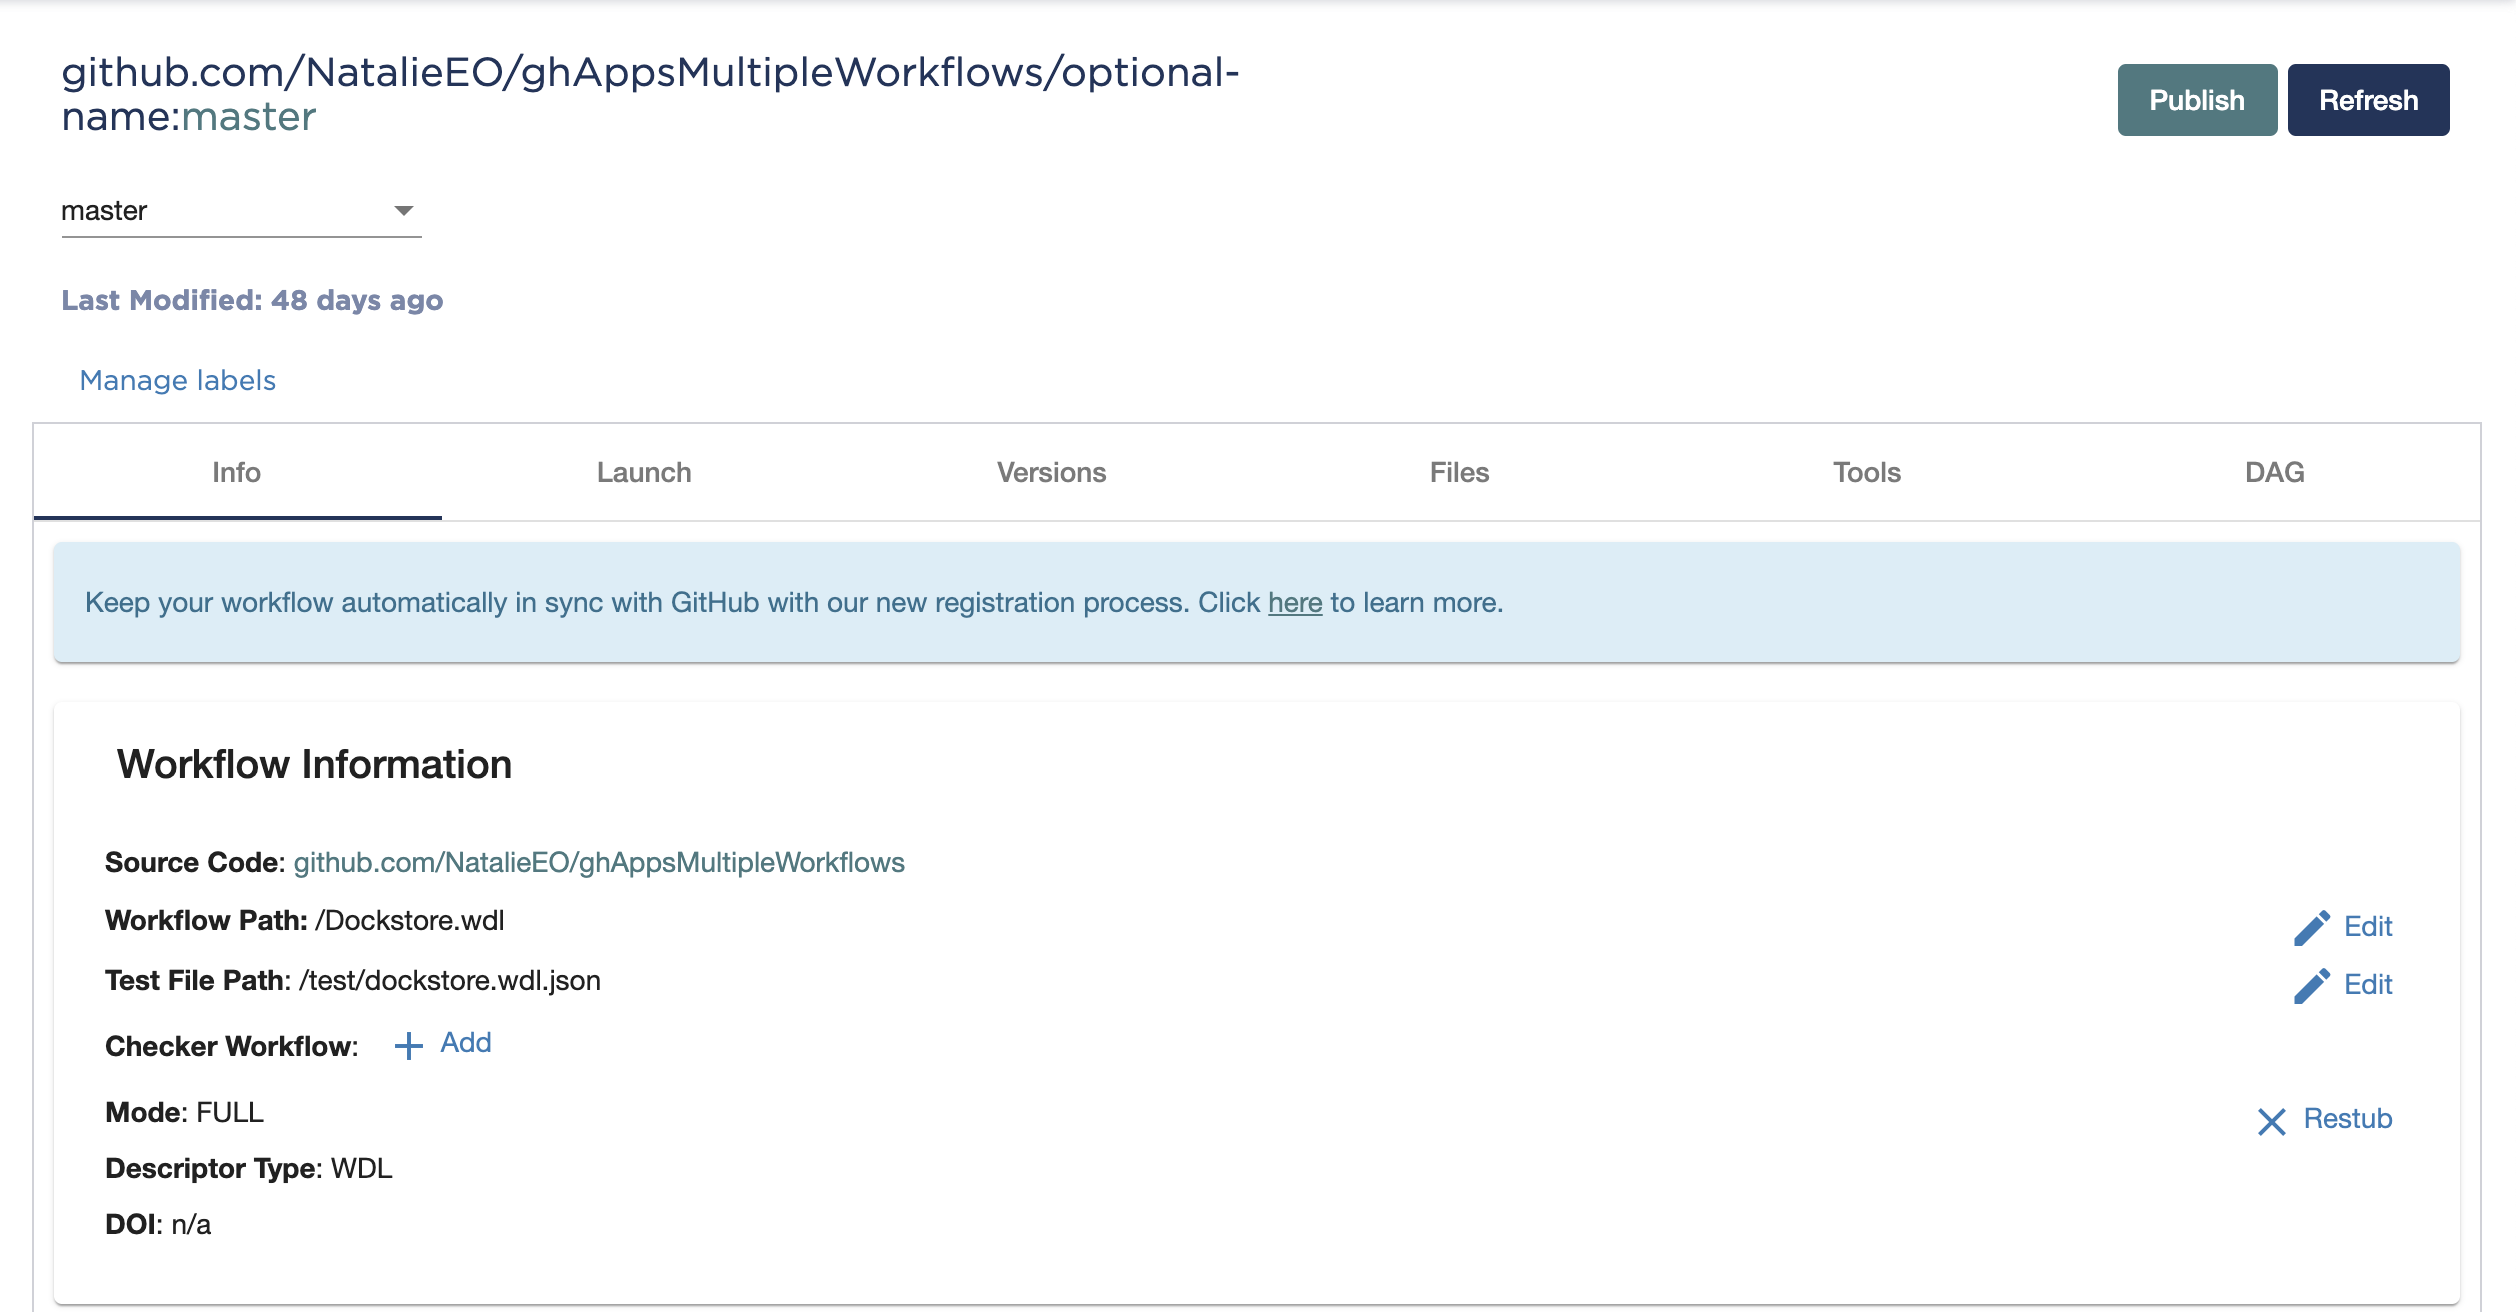
Your .dockstore.yml would look like the following:
version: 1.2
workflows:
   - subclass: CWL
     primaryDescriptorPath: /Dockstore.cwl
     testParameterFiles:
         - /test/dockstore.cwl.json
     topic: A short description of the unnamed workflow
   - subclass: WDL
     primaryDescriptorPath: /Dockstore.wdl
     testParameterFiles:
         - /test/dockstore.wdl.json
     name: optional-name
     topic: A short description of the workflow optional-name
Testing the Migration
Note
Push events will only be captured by Dockstore after installing the GitHub app onto the repo.
To test out your GitHub app integration, make a push to a branch. Navigate to or refresh your browser on the My Workflows page, and select the workflow you wanted to convert.
You should see that the Workflow Information section looks a bit different.
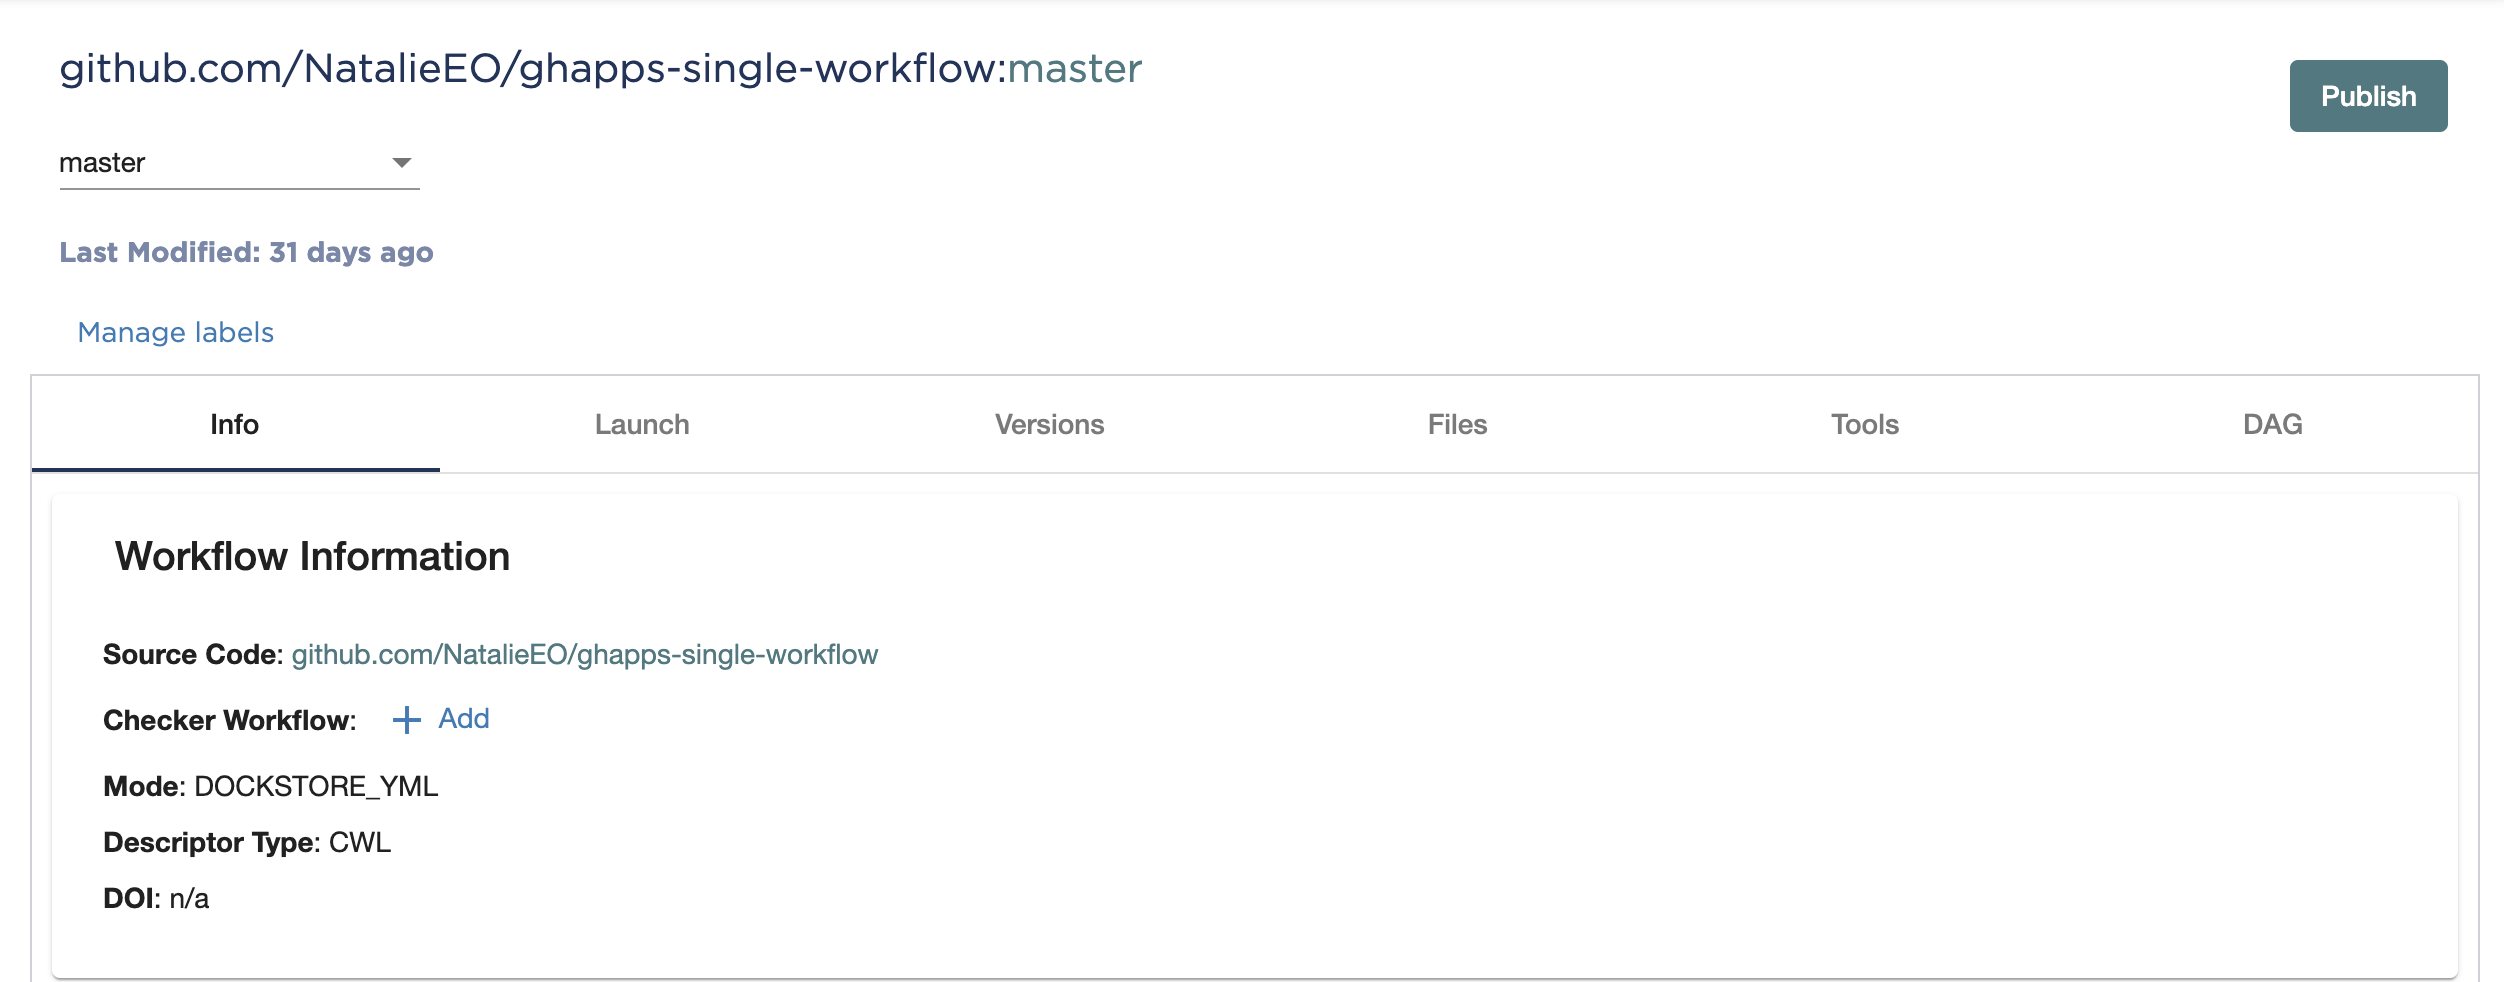
It now lists the mode as Automatically synced via GitHub App instead of Full, and information about paths is no longer included.
You are also no longer able to refresh or restub the workflow any more. Since you can’t refresh the entire workflow anymore, new versions from GitHub (releases/branches) that you want to add to Dockstore must have a .dockstore.yml file.
However, you can still refresh already existing versions/branches on Dockstore that you haven’t converted by going to the Versions tab, clicking Actions, and selecting Refresh Version.
See also
Troubleshooting and FAQ - tips on resolving Dockstore GitHub App issues.