Services
Services are containerized programs that are meant to be long running processes, usually web services or interactive applications, and that can be launched by a user into different environments.
Note
Dockstore Services is currently in preview mode. Also note that the screenshots below were taken on our staging site.
Tutorial Goals
Get familiarized with the concept of services on Dockstore
Learn the basics of creating a service using a .dockstore.yml file
Learn how to register a service and create versions for it
Publish your service to Dockstore
Services are meant to be long running processes, usually web services or interactive applications, that can be launched by a user. The entire process for creating a service that can launch successfully is complex and dependent on the service or application you are trying to describe; so it is beyond the scope of this tutorial. However, this document will outline what is needed to register, update, and publish a service onto Dockstore. Also, please keep in mind that service functionality is currently in preview mode.
Create Your Service
The first step is to create a file named .dockstore.yml which acts as a configuration file used to describe your service. Technically, having a valid YAML and the right version is
all that is required for your service to appear on Dockstore. But, we will briefly cover an example .dockstore.yml written for the Xena Hub to show what will generally be needed to create a working service.
You can also view template .dockstore.yml files here.
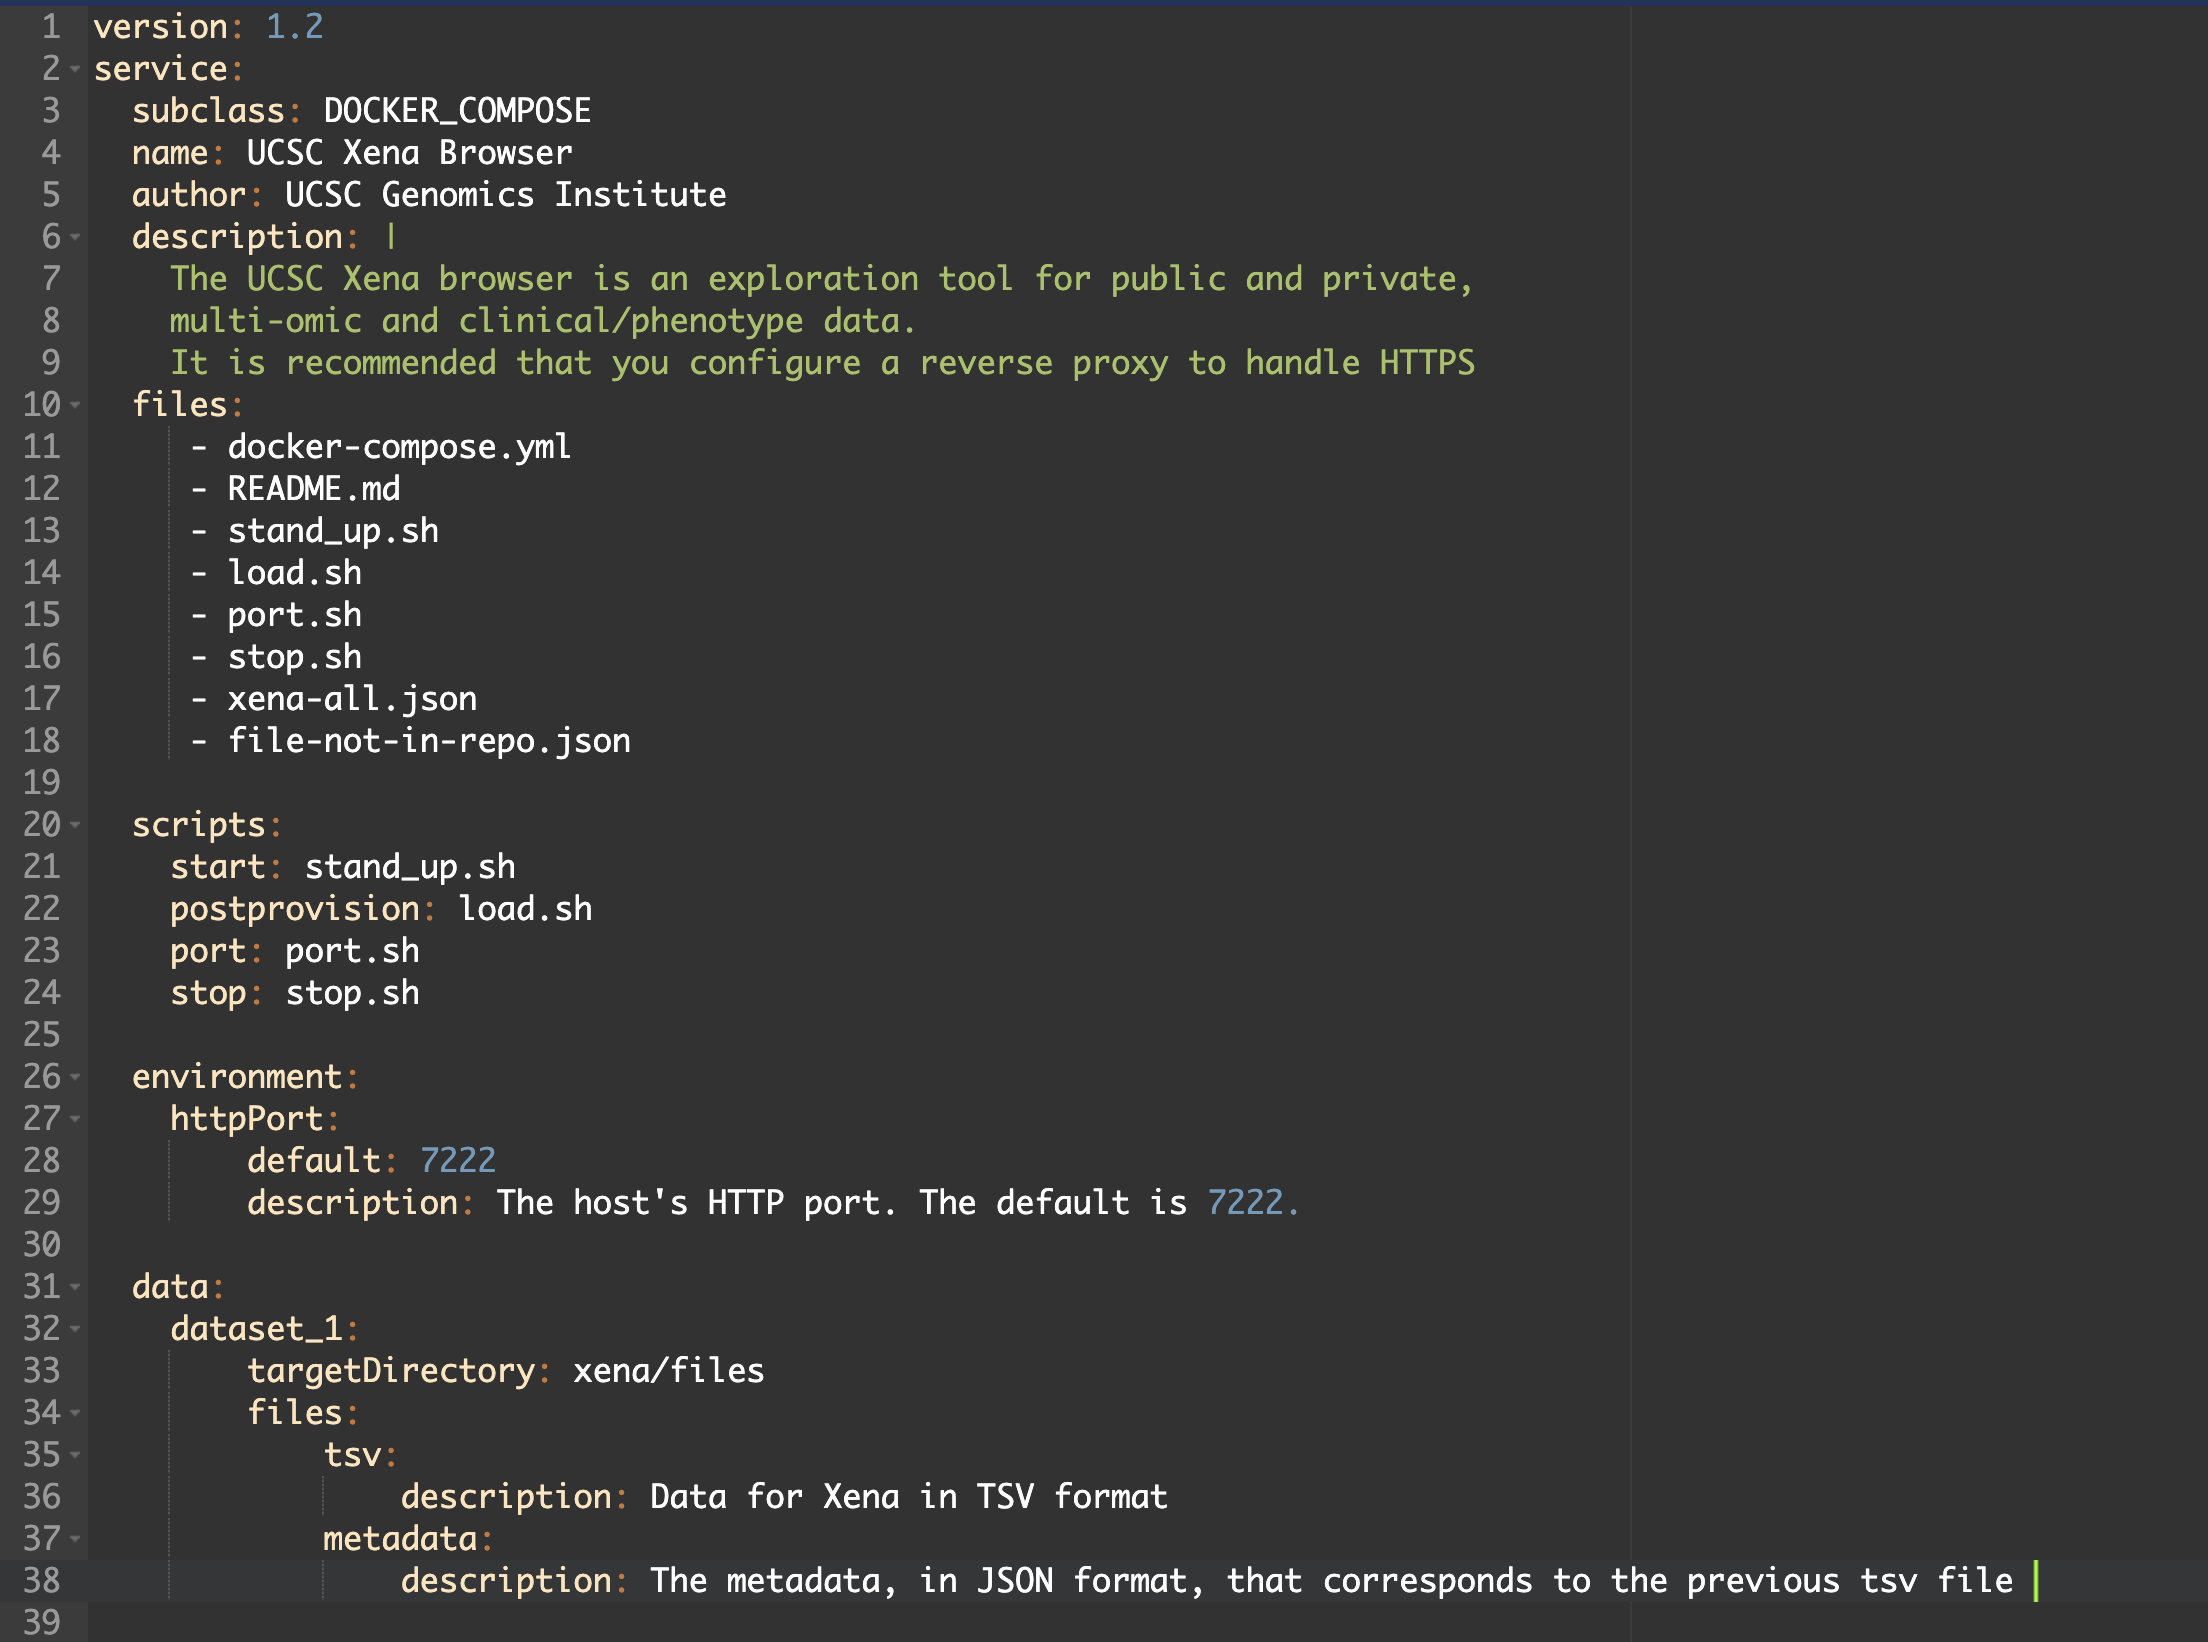
Line 1 specifies the .dockstore.yml version. The latest version you should use is 1.2.
Next is a required key named service where your service description will lie.
Within this, you should specify the type which can be DOCKER_COMPOSE, KUBERNETES, HELM, SWARM, NOT_APPLICABLE.
Following lines 4-9, it is good practice to include the name, author, and a description of your service.
Next, is the files key. Here you can specify a list of other files (like scripts, READmes, and test parameter files) for Dockstore to index that are contained in your repository and are needed for your service.
Following that is a scripts section. Here you denote the script files or commands to be used for steps like starting, provisioning, specifying the port, and stopping for your service. Other possible keys not listed above include preprovision, prestart, and healthcheck.
Next is a section where you can list any environment variables a service needs to be passed into its scripts by the launcher. In this example, we provide a default HTTP port.
Finally, if your service needs to have data provisioned locally, you should include a data section in your .dockstore.yml.
Registering Your Service
Note
You do not need an account to search for workflows on Dockstore or to launch them with our compute partners. However, to register content on Dockstore, you must have an account on Dockstore and link the necessary third-party accounts. Once this is done you can register workflows from the My Workflows page, tools from the My Tools page, notebooks from the My Notebooks page, or services from the My Services page.
Registering your service works differently than tools and workflows on Dockstore. For services, you need to install our Dockstore GitHub application into at least one of your organizations. By doing so, Dockstore will automatically register the services you create by keeping track of the releases and pre-releases you make on GitHub. This makes getting your service registered to Dockstore easy! You do not need the service to be fully working, and you can start experimenting on Dockstore while you write it. The following steps walk you through the installation process.
Note
Our docs sometimes use “GitHub App registration” and “registration with a .dockstore.yml file” interchangeably, as they are equivalent terms. The Dockstore GitHub App and a .dockstore.yml file are two components of the same registration method.
Install the Dockstore GitHub App
Installing the GitHub App is simple. Navigate to /my-tools, /my-workflows, /my-notebooks, or /my-services by navigating to My Dashboard then selecting the desired option in the left sidebar. In these screenshots, we will go via /my-tools, but the process is essentially the same for any of the other options.

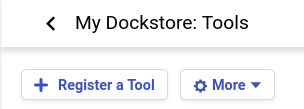
Click the Register a Tool button on the left hand sidebar.
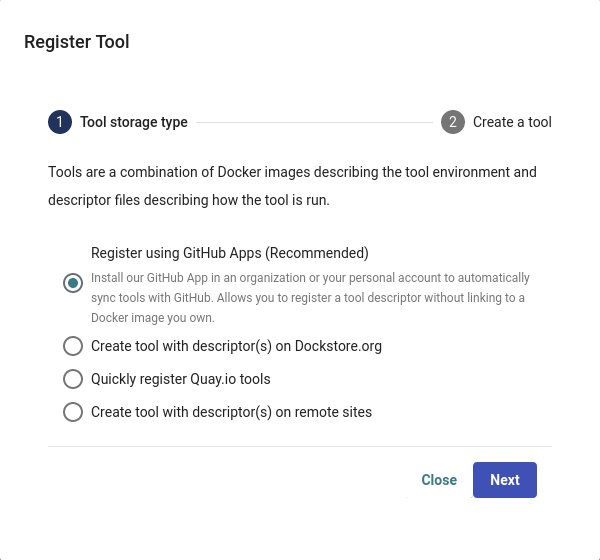
A window will appear asking how you would like to register your tool, workflow, or service. Select Register using GitHub Apps.
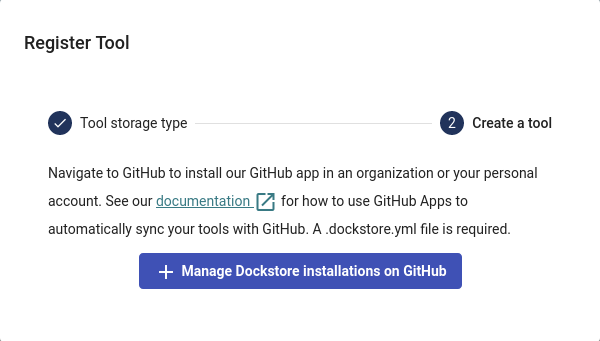
Click + Manage Dockstore Installations on GitHub.
You’ll then be redirected to GitHub where you can install the app in an organization or your personal account. For example, the username for my personal GitHub account is aofarrel. If I want to install the GitHub App so it could access aofarrel/mycoolrepo, I would choose the first option here.
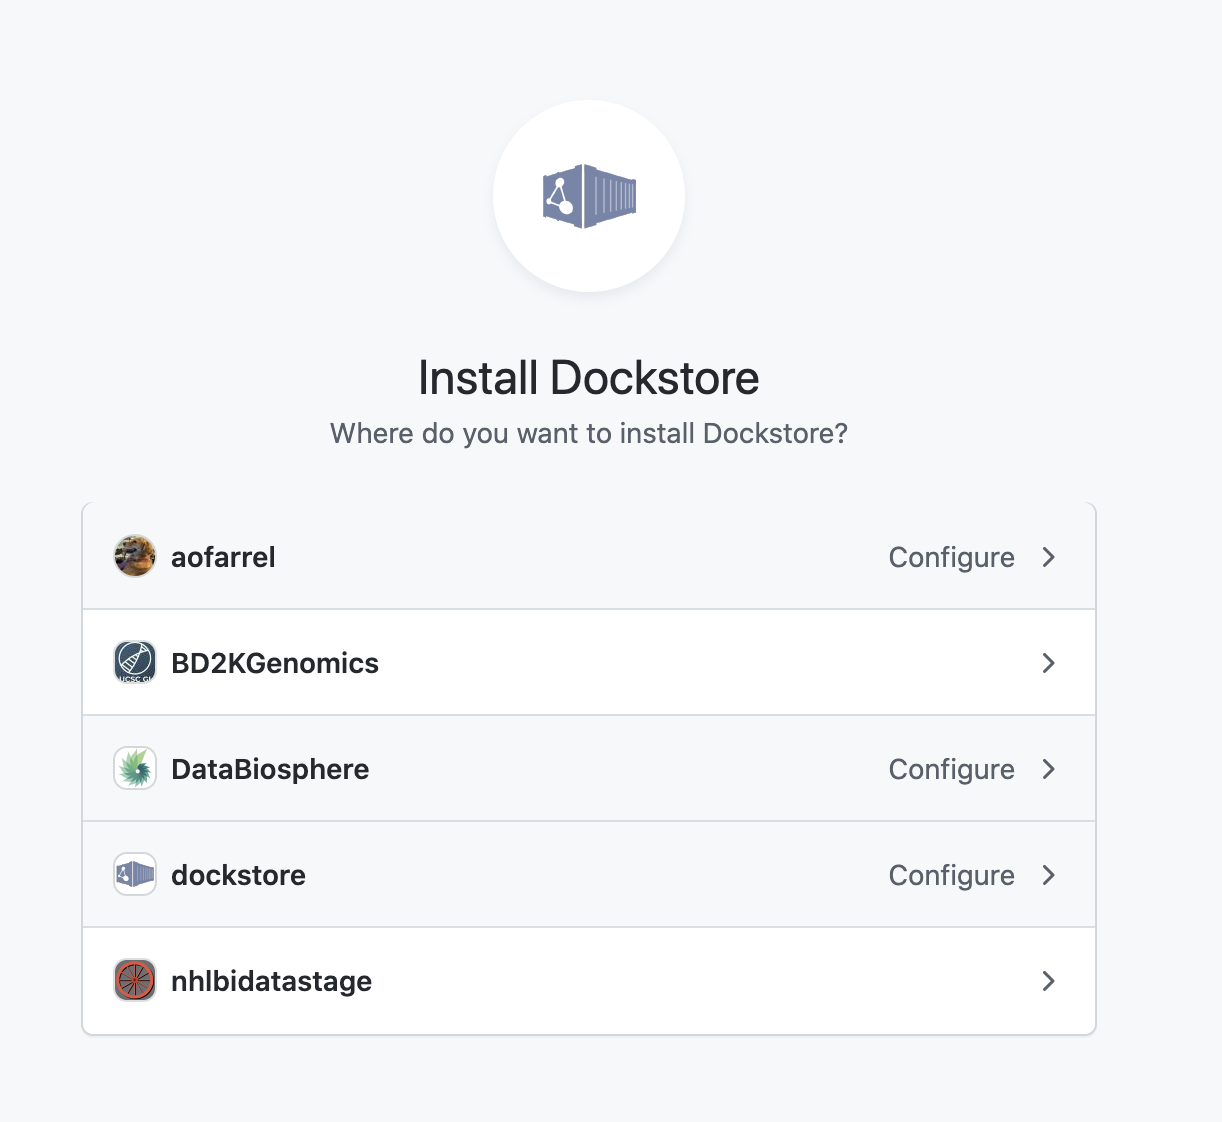
Install our GitHub App in an organization or your personal account
After selection of an organization or a personal account, you can select whether to give access to all current and future repositories or only select ones. If the organization or personal account you choose is intended to be just for Dockstore tools/workflows/services/notebooks, you may want to allow access to all repositories. Otherwise, it may be more intuitive to select only certain repositories. Click save and you will be taken back to Dockstore.
Important
The GitHub user who first adds a workflow onto Dockstore must correspond to a user on Dockstore.
On Dockstore, under the GITHUB section, you should see the names of GitHub accounts that you have access to, such as organizations that you belong to and your personal account. If your repositories that you chose to keep track of contained a .dockstore.yml at the time of installing the GitHub App, then you will see the repositories under the GitHub personal/organization account name that it belongs to. Here’s an example involving /my-services:
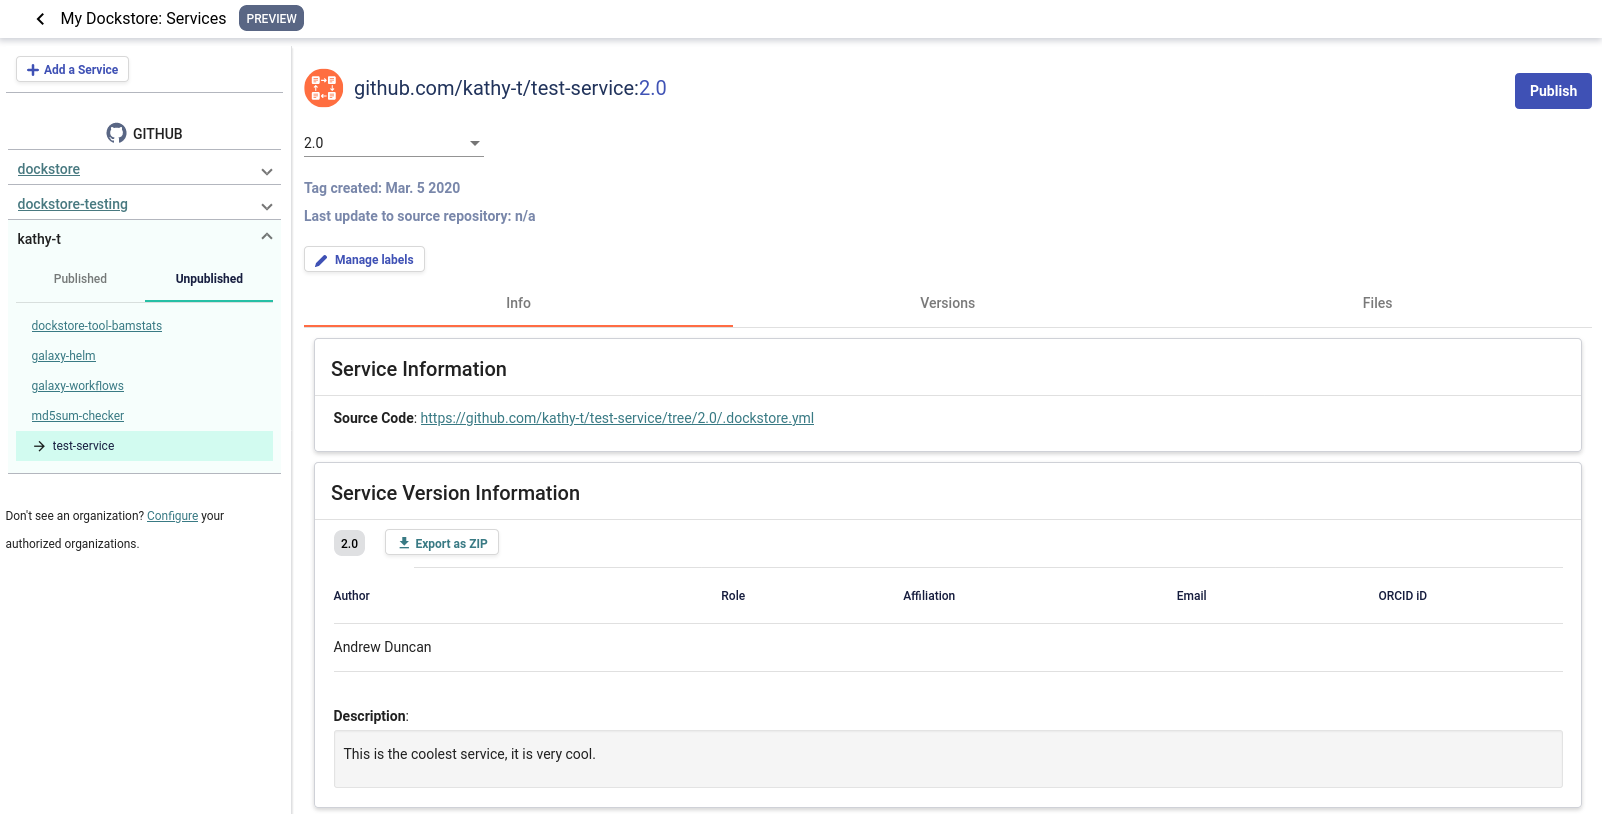
A note on permissions when installing the Dockstore GitHub App to a GitHub organization
Only organization admins and repository admins can install the Dockstore GitHub App.
Organization admins will have the easiest time installing the Dockstore GitHub App because they can install it to any repository in the organization on the installation page. Users who are not organization admins can only install the Dockstore GitHub App on repositories that they are an admin of.
For more information on troubleshooting GitHub App permissions, please see this FAQ entry.
See also
Automatic Syncing with GitHub Apps and .dockstore.yml - details on writing a .dockstore.yml file
Migrating Your Existing Workflows - a tutorial on converting already registered workflows
Troubleshooting and FAQ - tips on resolving Dockstore Github App issues.
Ensuring sychronization
Upon installing the GitHub App, Dockstore will find branches in your repository that contain a .dockstore.yml and attempt to register your workflows, tools, services, and notebooks. There may be some cases where Dockstore is unable to find all branches containing a .dockstore.yml, for example, if the GitHub repository has many branches.
If your workflow, tool, service, or notebook is not showing up on Dockstore after 5 minutes, push one additional commit to the branch in your repository that contains the .dockstore.yml that’s not being synchronized. Dockstore will synchronize the branch that was updated, which helps make sure that your workflows, tools, services, and notebooks show up in Dockstore.
If your workflow, tool, service, or notebook still doesn’t show up, check the GitHub App logs to see if Dockstore encountered an error while processing your .dockstore.yml.
Publishing Your Service
When you select a repository from this panel to view, you will notice that information is missing. Clicking the Versions tab, you will see an info box letting you know that this service does not have any versions. When your service is in this state, the publish button is disabled.
To add a version, get the information to populate, and gain the ability to publish, all you need to do is create a release or prerelease on GitHub on a repository that has a valid .dockstore.yml located in its root directory. Any time this is done, Dockstore will automatically create versions for you.

Now the Files tab will have your .dockstore.yml under the Primary Descriptor. Additionally, the files you choose to list in the in the files section of the .dockstore.yml will also be visible in the Files tab.
Once you have a version, you can now publish your service! Publishing will create a public page that is very similar to the ones we have for tools and workflows.
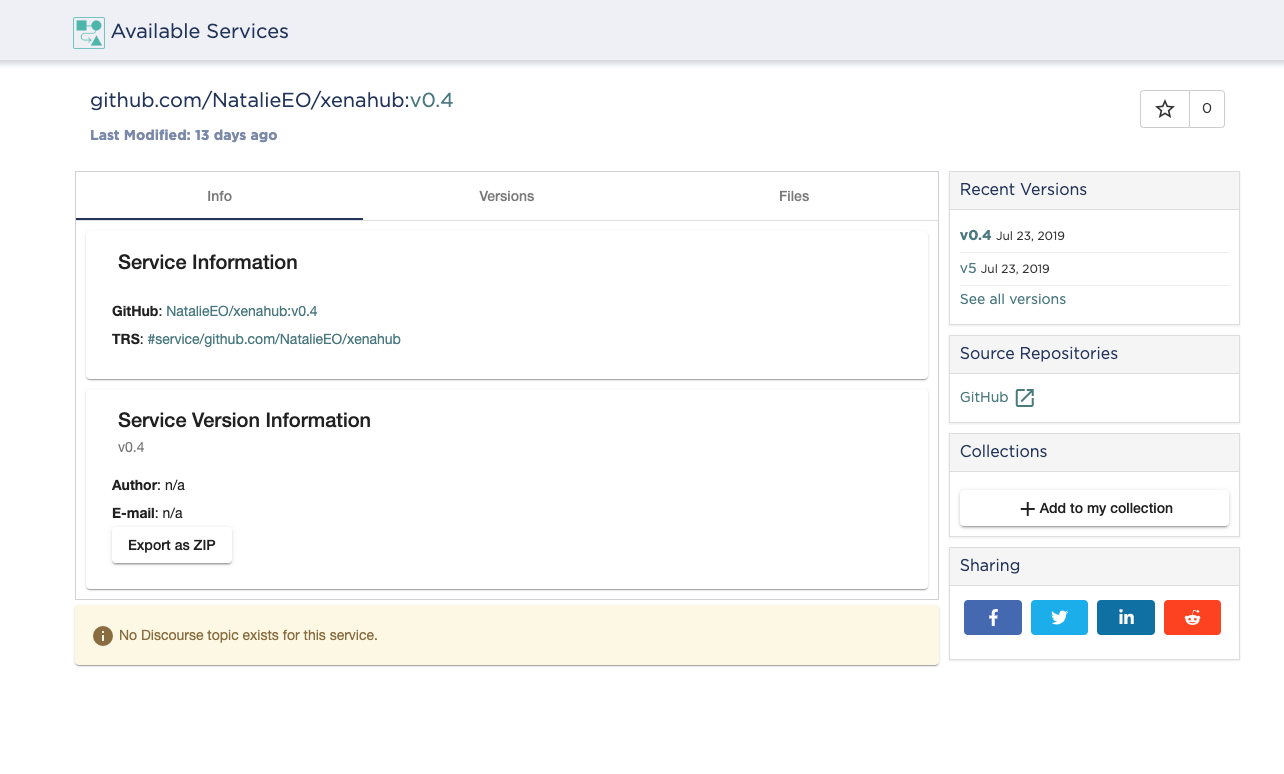
Now other users can view and star your service. You will also have the option to add published services to a collection.