Register a Tool on Dockstore
Tutorial Goals
Discover how to register a tool on Dockstore
Publish your tool
Assumptions
This document assumes you already have a tool ready to register.
If you followed Getting Started With CWL to create a CWL tool, you will now have a Dockstore.cwl in GitHub and have linked your accounts to Dockstore. This will allow you to use the Dockstore GitHub App to register your tool. Of course, you can always follow along with your own unique tools too. Regardless of how you made your tool, this tutorial will assume you are using CWL. For all other languages, you will want to register a workflow.
Note
Dockstore allows the registration of “WDL tools” using legacy registration methods. However, the WDL community does not explicitly differentiate tools versus workflows. We encourage people to register WDLs as workflows instead.
Register Your Tool in Dockstore
Note
You do not need an account to search for workflows on Dockstore or to launch them with our compute partners. However, to register content on Dockstore, you must have an account on Dockstore and link the necessary third-party accounts. Once this is done you can register workflows from the My Workflows page, tools from the My Tools page, notebooks from the My Notebooks page, or services from the My Services page.
We recommend users register their tool with our GitHub App to benefit from GitHub’s features and automatic syncing. If you do not wish to use GitHub, we do support other methods of registration in our legacy registration methods. Use the following questions to determine which registration method works for you:
Registering a CWL CommandLineTool?
Hosted on GitHub?
Register your tool to automatically sync using GitHub Apps
Hosted on BitBucket or GitLab?
Register using legacy tool registration methods or consider uploading your work to GitHub
Registering a CWL Workflow, WDL, Nextflow, or Galaxy descriptor files?
Hosted on GitHub?
Register your workflow to automatically sync using GitHub Apps
Hosted on BitBucket or GitLab?
Register using legacy workflow registration methods or consider uploading your work to GitHub
Register Your Tool to Automatically Sync with GitHub (Recommended)
Using GitHub Apps, Dockstore can react to changes on GitHub as they are made, keeping Dockstore synced with GitHub automatically. You can learn more in our Dockstore GitHub App doc.
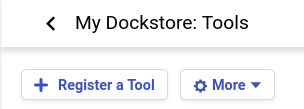
Installing the GitHub App is simple. Navigate to /my-tools, /my-workflows, /my-notebooks, or /my-services by navigating to My Dashboard then selecting the desired option in the left sidebar. In these screenshots, we will go via /my-tools, but the process is essentially the same for any of the other options.

Click the Register a Tool button on the left hand sidebar.
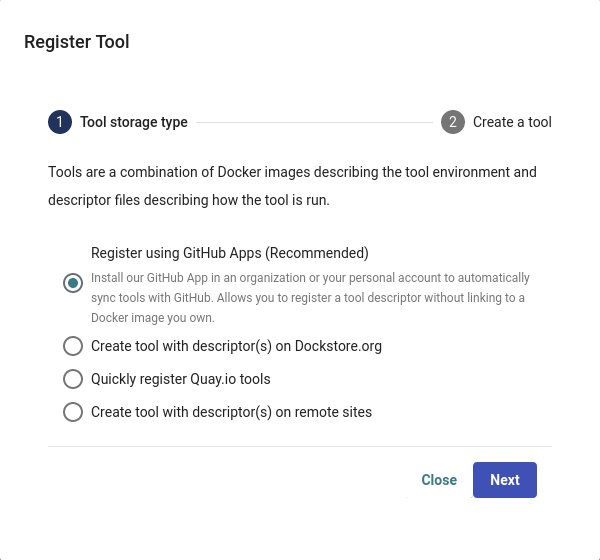
A window will appear asking how you would like to register your tool, workflow, or service. Select Register using GitHub Apps.
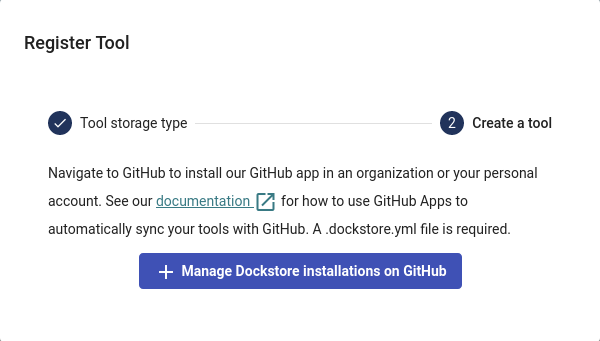
Click + Manage Dockstore Installations on GitHub.
You’ll then be redirected to GitHub where you can install the app in an organization or your personal account. For example, the username for my personal GitHub account is aofarrel. If I want to install the GitHub App so it could access aofarrel/mycoolrepo, I would choose the first option here.
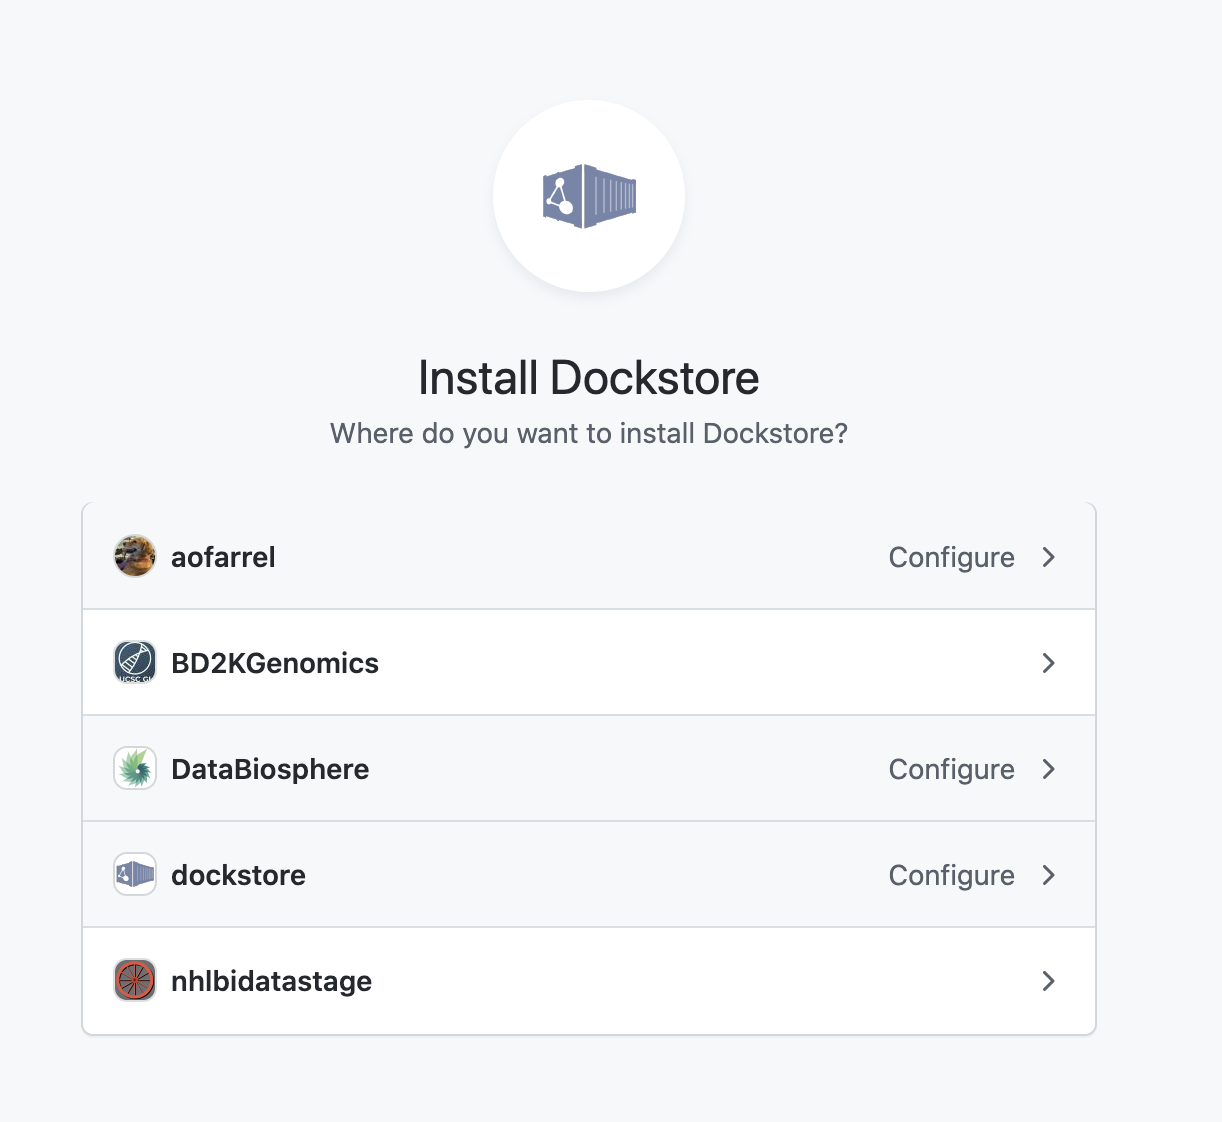
Install our GitHub App in an organization or your personal account
After selection of an organization or a personal account, you can select whether to give access to all current and future repositories or only select ones. If the organization or personal account you choose is intended to be just for Dockstore tools/workflows/services/notebooks, you may want to allow access to all repositories. Otherwise, it may be more intuitive to select only certain repositories. Click save and you will be taken back to Dockstore.
Important
The GitHub user who first adds a workflow onto Dockstore must correspond to a user on Dockstore.
You will then see the landing page which will have handy tips on how to structure your .dockstore.yml, recommended actions for previously added repositories, and a link to automatically generate a .dockstore.yml.

If you click on the “Generate” link, you will find a wizard that lets you use a .dockstore.yml that Dockstore will generate (using a best guess) using the contents of your repository.

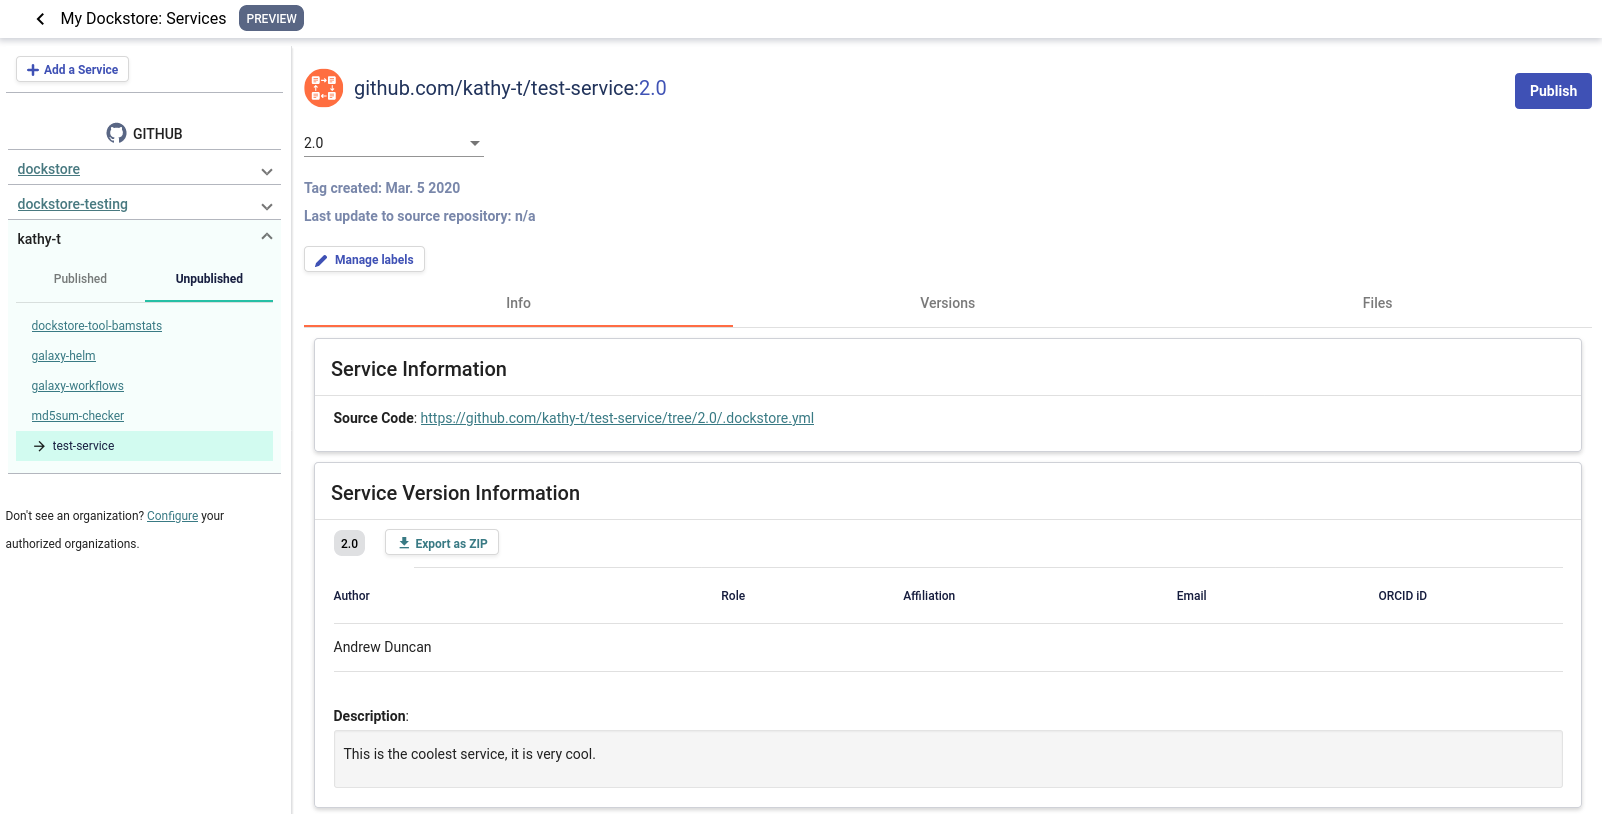
On Dockstore, under the GITHUB section, you should see the names of GitHub accounts that you have access to, such as organizations that you belong to and your personal account. If your repositories that you chose to keep track of contained a .dockstore.yml at the time of installing the GitHub App, then you will see the repositories under the GitHub personal/organization account name that it belongs to. Here’s an example involving /my-services:
A note on permissions when installing the Dockstore GitHub App to a GitHub organization
Only organization admins and repository admins can install the Dockstore GitHub App.
Organization admins will have the easiest time installing the Dockstore GitHub App because they can install it to any repository in the organization on the installation page. Users who are not organization admins can only install the Dockstore GitHub App on repositories that they are an admin of.
For more information on troubleshooting GitHub App permissions, please see this FAQ entry.
See also
Automatic Syncing with GitHub Apps and .dockstore.yml - details on writing a .dockstore.yml file
Migrating Your Existing Workflows - a tutorial on converting already registered workflows
Troubleshooting and FAQ - tips on resolving Dockstore Github App issues.
Ensuring sychronization
Upon installing the GitHub App, Dockstore will find branches in your repository that contain a .dockstore.yml and attempt to register your workflows, tools, services, and notebooks. There may be some cases where Dockstore is unable to find all branches containing a .dockstore.yml, for example, if the GitHub repository has many branches.
If your workflow, tool, service, or notebook is not showing up on Dockstore after 5 minutes, push one additional commit to the branch in your repository that contains the .dockstore.yml that’s not being synchronized. Dockstore will synchronize the branch that was updated, which helps make sure that your workflows, tools, services, and notebooks show up in Dockstore.
If your workflow, tool, service, or notebook still doesn’t show up, check the GitHub App logs to see if Dockstore encountered an error while processing your .dockstore.yml.
Once the GitHub app is installed on a repository in an organization or your personal account, you will need to add a .dockstore.yml file to the root directory of a branch of the repository that contains your tool. This file contains information like tool path, test parameter file, tool name, etc. When a push is made or a tag is created on GitHub with a .dockstore.yml, Dockstore will add that branch to the corresponding tool on Dockstore. If the tool doesn’t already exist on Dockstore, one will be registered (but will not automatically be published publically). Note that a single .dockstore.yml file can describe multiple tools, if all of those tools are in the same repository.
Below is a simple example of a .dockstore.yml file for an alignment tool. Note that all file paths in the file must be absolute.
version: 1.2
tools:
   - subclass: CWL
     primaryDescriptorPath: /aligner.cwl
     testParameterFiles:
     - /test/aligner.cwl.json
     topic: A short description of this tool
If you had our GitHub App installed on the repository myorg/alignments and then add the above .dockstore.yml to the develop branch,
the following would occur.
A CWL tool with the ID
github.com/myorg/alignmentswill be created on DockstoreThe version develop is added to the tool
github.com/myorg/alignmentsThe version has the primary descriptor file set to
/aligner.cwlThe version has one test parameter file:
/test/aligner.cwl.json
Now that your tool has been added, any time there is a push to a branch on GitHub for this repository that has a .dockstore.yml, it is automatically updated on Dockstore! Anytime there is a deletion of a branch on GitHub that has a .dockstore.yml, the version is removed from Dockstore.
For more information on this method, as well as general troubleshooting advice, please check our Dockstore GitHub Apps Overview page.
Legacy Tool Registration
Important
Workflows and tools added to Dockstore via our legacy registration methods do not automatically stay in sync with their source repository. Instead, someone with access to the entries on Dockstore must periodically log into Dockstore and press a button to trigger a refresh. Although this process is quick and will bring in all new tags, commits, and branches with the click of a button, it is easy to forget to do this and might not be appropriate for frequently-updated tools and workflows. For this reason, we recommend using GitHub App registration instead.
If you are using BitBucket or GitLab and would prefer not to use GitHub, or if you are using GitHub but do not wish to install our app, our legacy registration methods have you covered. Several options are available to you and described in our legacy registration methods documentation. If you must use the legacy tool registration methods, then you may want to read how our definition of tool is different for these legacy methods.
Next Steps
Once registered, you can send links to your tools on Dockstore to colleagues and use it as a public platform for sharing your tools.
Learn about Workflows and how they differ from tools.