Organizations and Collections
Organizations
Organizations are landing pages for collaborations, institutions, consortiums, companies, etc. that allow users to showcase tools and workflows. This is achieved through the creation of collections, which are groupings of related tools and workflows. The users of an organization do not need to own the tools or workflows in any way; the tools and workflows just have to be published. Collections can be thought of as a playlist on a music streaming service where tools and workflows are analogous to individual songs. They can be shared publicly, and the user does not need to own them.
Creating an organization
To create an organization request, go to the
organizations page and select
Create Organization Request. Any user can request to create an
organization by filling out the following form. The request
must be approved by a Dockstore curator in order to be public. Until it
is approved, you are still able to edit it, add collections, add
members, etc.
To create an organization request, you must have at least 2 external accounts linked to your Dockstore account. Linked accounts help the Dockstore curators verify that a legitimate user is creating the request.
When you click the Create Organization Request button, you are prompted with
a dialog that shows the number of external accounts you have linked. If you have
at least 2 accounts linked, you can create an organization request. If
you have fewer than two accounts linked, you cannot create an
organization request. In both cases, the dialog has a Link Accounts button
that takes you to the Accounts page, where you can link additional accounts.
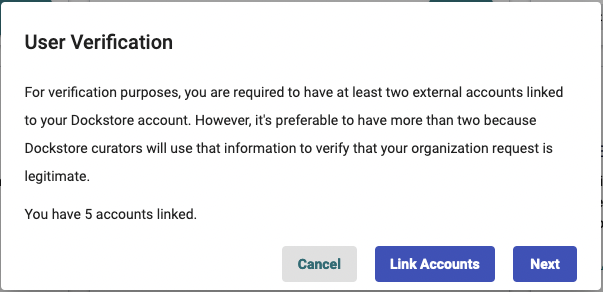
User Verification
If you have at least 2 accounts linked, clicking the Next button brings up the
Create Organization Request dialog.
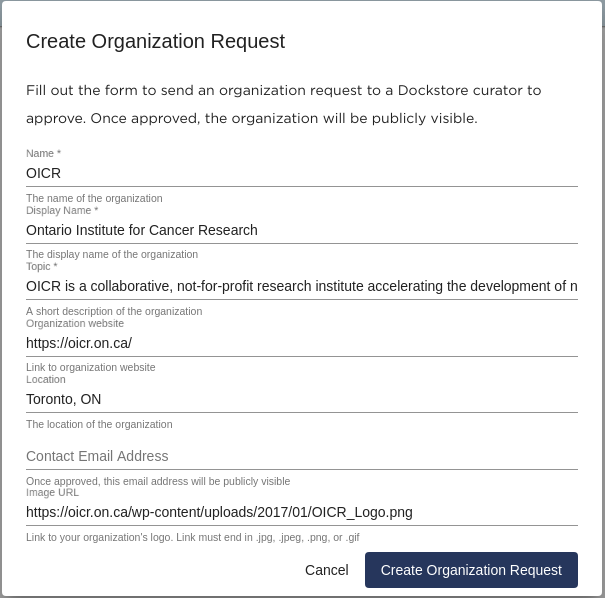
Create Organization Request
The fields for name, display name, and topic are all required. These can be changed later. The organization name and display name must be unique across all of Dockstore.
Name - the name used in URLs and as an identifier
Display Name - the pretty name used anywhere the organization is mentioned that allows for other characters such as spaces
Topic - a short description of the organization (1-2 sentences)
Website - a link to the organization’s external webpage
Location - where an organization is located, for example a city or university
Email - a general contact email address for users to direct queries
Avatar - a link to the organization’s logo. Link must end in .jpg, .jpeg, .png, or .gif
Once a user creates an organization request, they will be redirected to the organization page. Here they can make edits to the organization, add collections, even add members. The organization will require approval from a Dockstore curator before it can be viewed publicly.
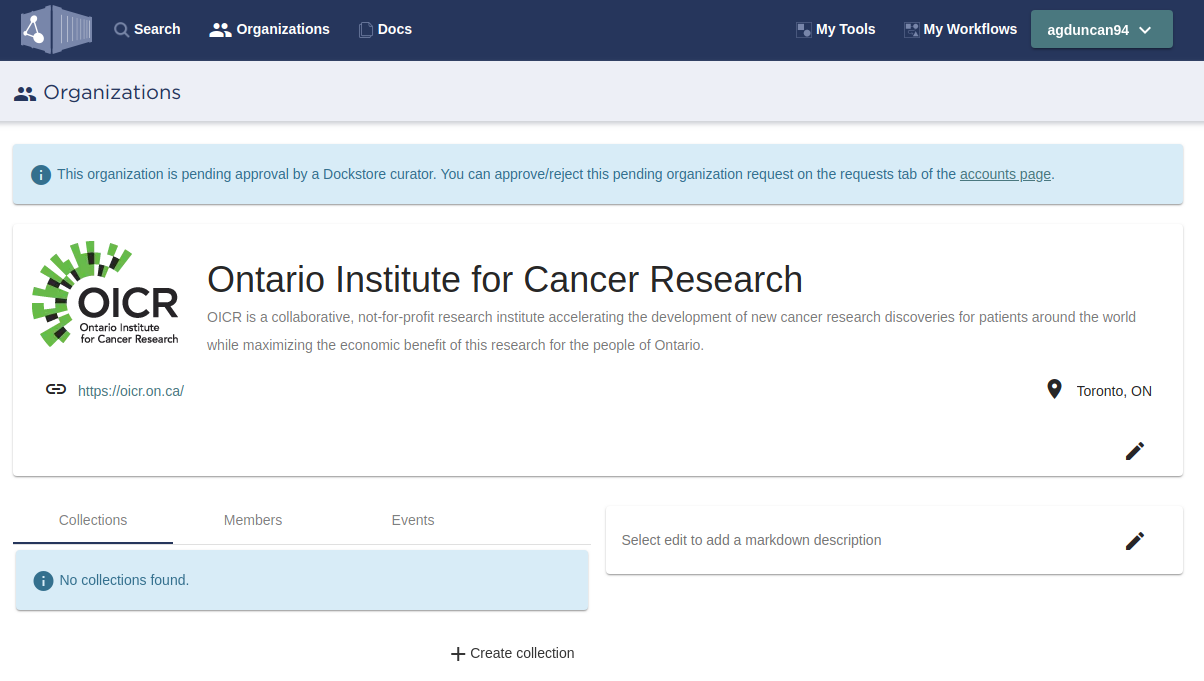
Pending Organization
Updating the metadata
All of the information that was defined in the organization registration form can be updated after the organization is created.
Additionally, you can add a freeform markdown description to an organization, however it is entirely optional. It is recommended that organizations have at least a basic description.
Viewing organization requests
Organization requests can be viewed on the requests tab of the
accounts page. Currently this is
the only way to track your unapproved organizations. Once your
organization is approved, it will disappear from this page.
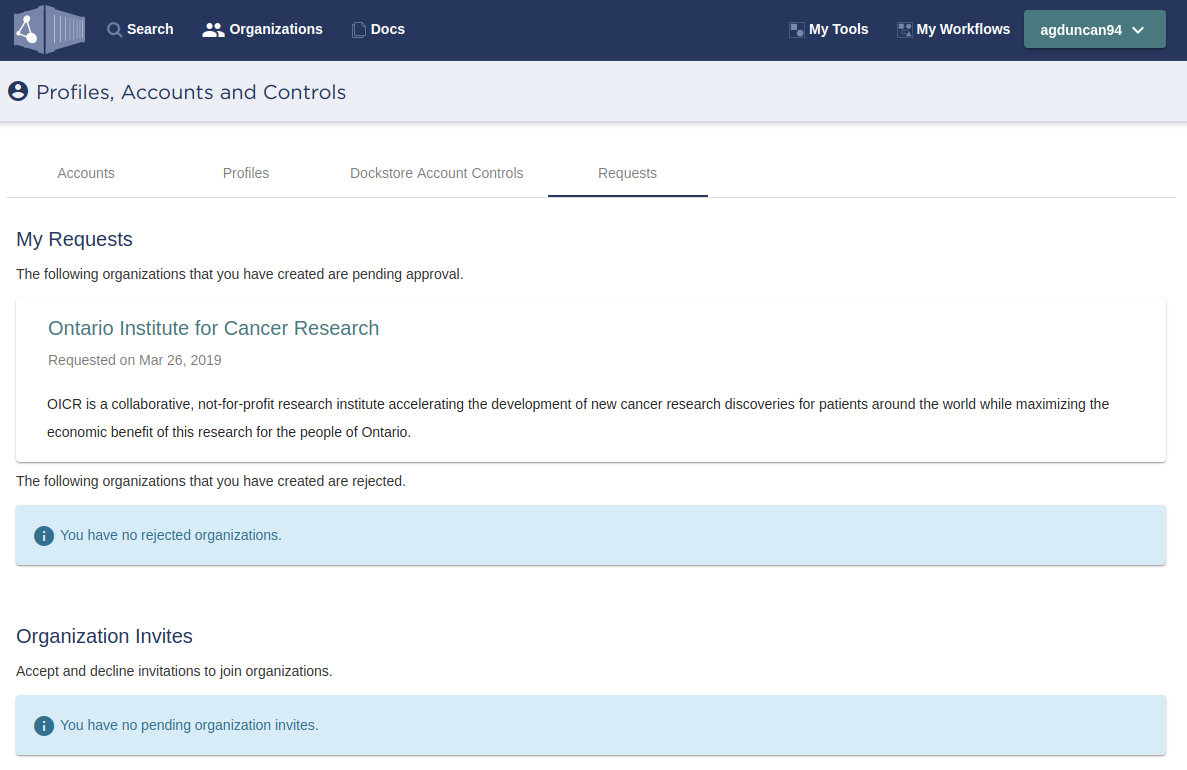
Pending Organization Request
If your organization was rejected, it will move to the rejected section of the requests tab. Once you’ve made changes to the organization, you can request a re-review.
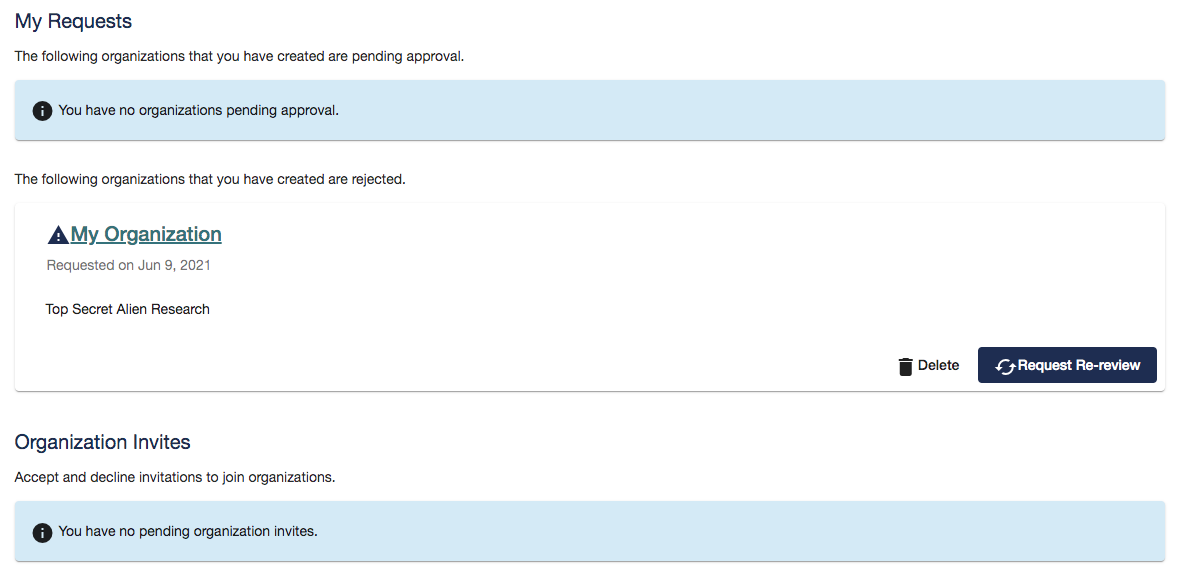
Rejected Organization Request
Organization membership
Anyone can see an approved organization, but only admins and maintainers of the organization can perform actions on it. This includes creating and adding to collections, updating metadata, and adding new members.
As of 1.9.2, there are three types of roles available:
Member - No editing permissions. Joins to show support for the organization.
Maintainer - can only update the organization and collections
Admin - can update the organization, collections, and memberships
Membership can be updated on the membership tab of the organization page. An admin cannot delete their own membership.
When a user is requested to join an organization, they will receive an
invite. Pending invitatons are displayed on the requests tab of the
accounts page and here a user can
either accept or reject the request.
Collections
Collections are a way of gathering related tools and workflows in an easily accessible location. They can be used for grouping tools and workflows for a specific grant, theme, field, etc. A collection is only publicly visible if the organization that it belongs to is approved.
Creating a collection
To create a collection, go to the collections tab on the organization
page and select Create collection. 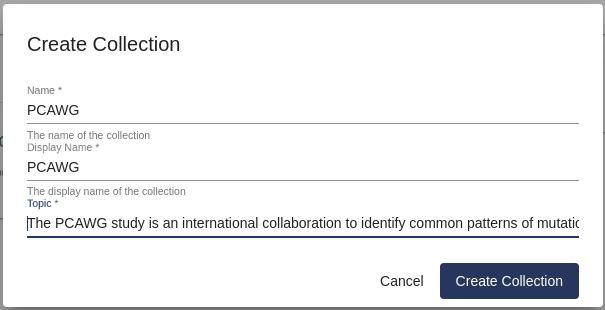
Collections have the same core information as organizations. The name, display name, and topic are all required. They can be changed later. The collection name and display name must be unique across all collections within the organization.
Name - the name used in URLs and as an identifier
Display Name - the pretty name used anywhere the collection is mentioned
Topic - a short description of the collection (1-2 sentences)
Note: Tools and workflows are added to a collection after it is created.
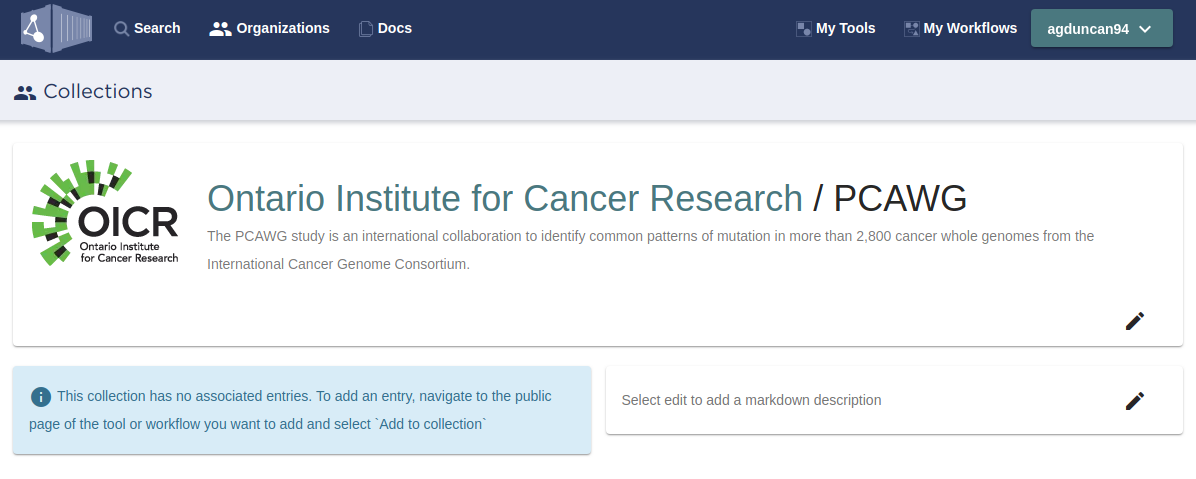
Updating the metadata
All of the information that was defined in the add collection form can be updated after the collection is created.
A freeform markdown description can be added to a collection, however it is entirely optional. It is recommended that collections have at least a basic description.
Collection
Adding tools and workflows
Only published tools and workflows can be added to a collection. If a
tool/workflow belonging to a collection is unpublished, it will be
hidden on the collection page until the tool/workflow is published
again. To add a tool or a workflow to a collection, go to the public
page for the tool/workflow and click Add to collection on the
right-hand side.
Add to Collection
This will open a dialog where you can select a collection to add the tool/workflow.
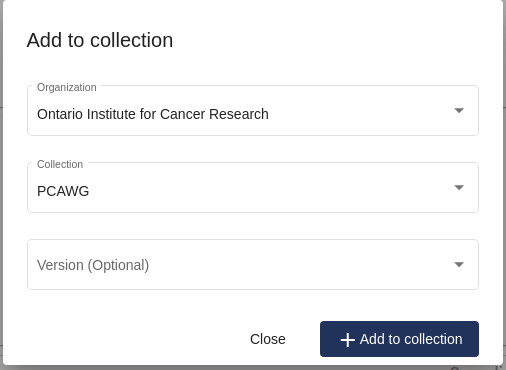
Add to Collection Dialog
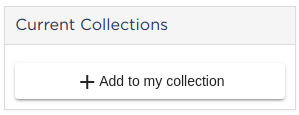
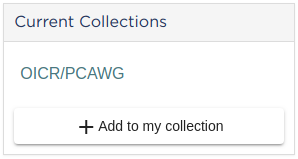
The Current Collections section will now link to the PCAWG
collection.
Add to Collection PCAWG
Once added, the tool/workflow will appear on the collection page. If a user wants to remove a tool/workflow from a collection, they can do so from the collections page.
Note that you have the option of adding a specific version of a workflow rather than the workflow as a whole. For information on why you might want to do this, please refer to the FAQ .
Events
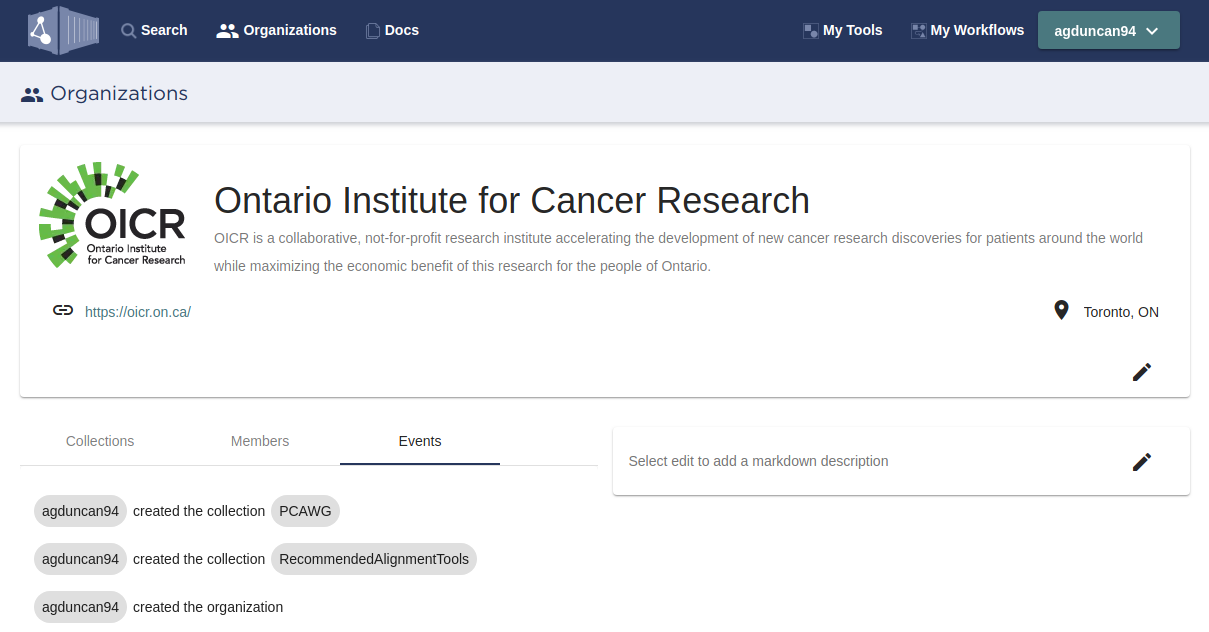
We keep track of events occurring related to the activity on the
organization page and display the important ones in the events tab
of the organization. Details are displayed when hovering over the
individual events.
Events