GitHub Codespaces
Dockstore integrates with GitHub’s Codespaces development environment, allowing you to launch a notebook from Dockstore to a Codespace. Here is some information on what that looks like from a user point of view in a mini tutorial.
Launching to a GitHub Codespace
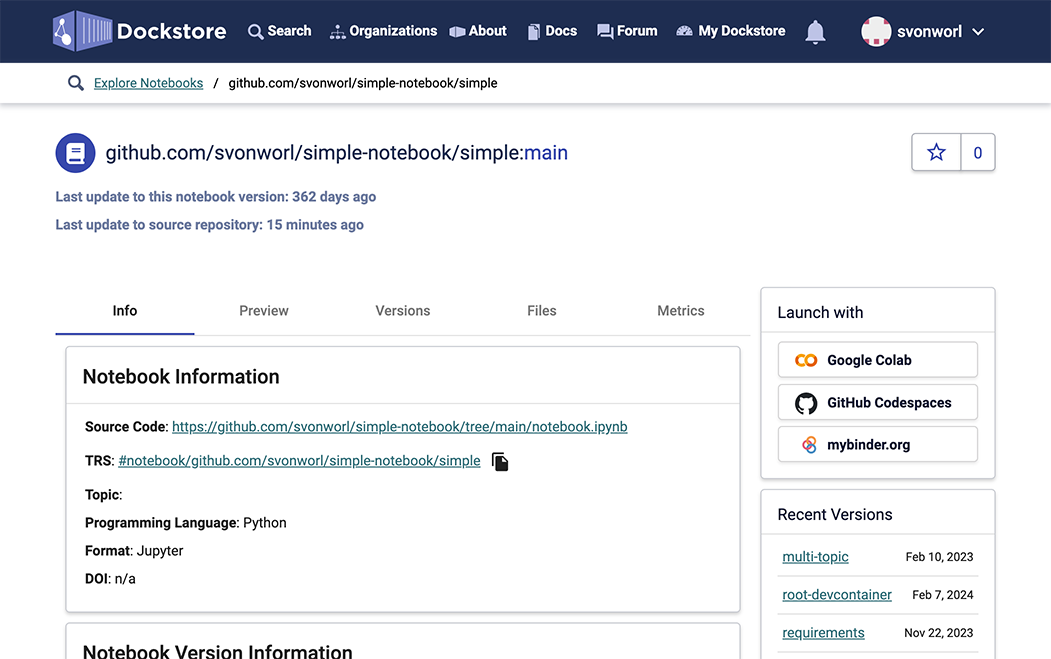
On each notebook’s public Dockstore page, you will see a “Launch with GitHub Codespaces” button on the right. When you press it, the currently selected version of the notebook will launch in a new browser window.
If a notebook repository does not contain a dev container file, which is necessary to smoothly launch a notebook into a Codespace, Dockstore will display a warning dialog after you press the “Launch with” button. You can proceed with the launch, but you’ll need to start the notebook environment and load the notebook by hand, via the Codespace UI.
Note
If you are the notebook’s author, see the “Devcontainer File” section below for information about how to add a devcontainer file to your repository.
In a new browser window, you will see GitHub’s “Create codespace” interface, which displays the branch/tag and devcontainer file you’re using, as well as some menus that allow you to select the region and machine type for the Codespace:
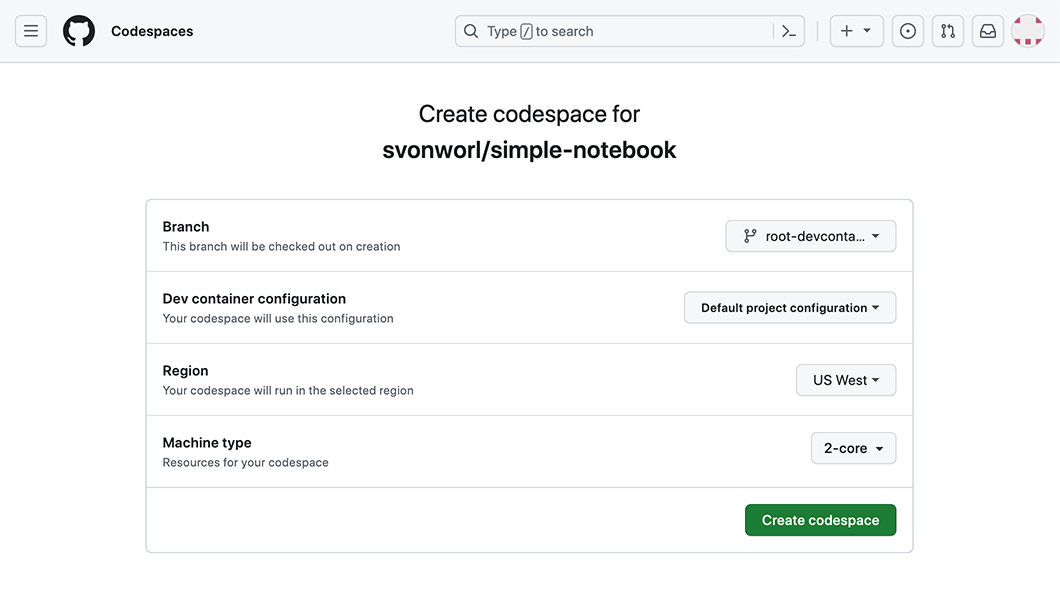
Press the Create codespace button.
Now, GitHub builds your Codespace and displays its progress in a text box.
A few seconds later, the main Codespace interface appears and slowly initializes. As the Codespace loads the required resources, it will read the repo’s requirements.txt, if it exists, and install the specified Python packages. A notebook Codespace takes about 45 seconds to initialize, and longer if it loads lots of packages.
After it’s done, you’ll see the notebook and can edit and run it:
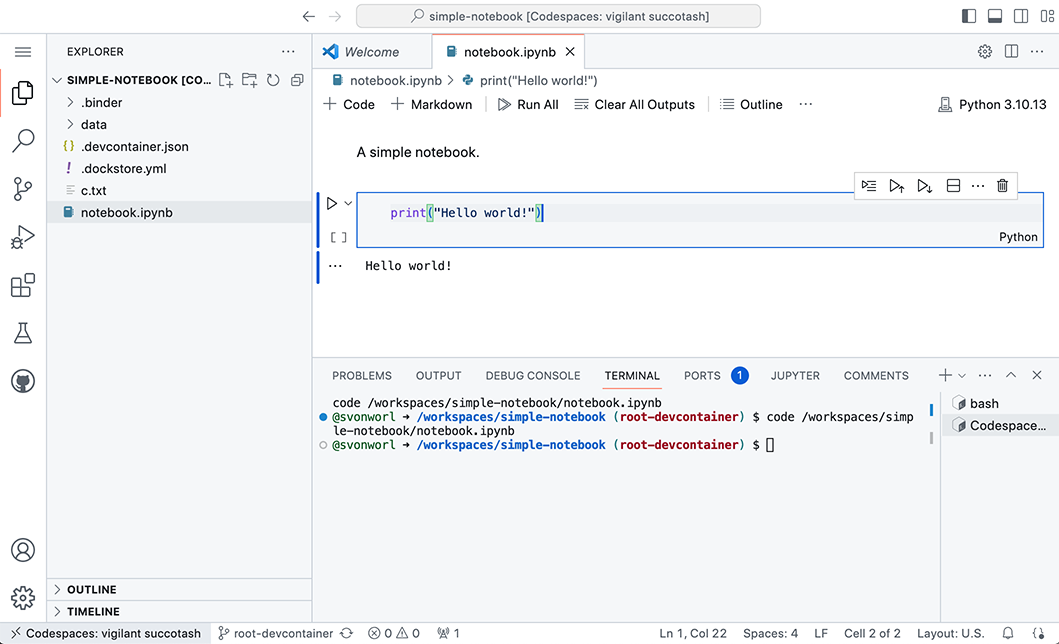
The new Codespace is linked to the source GitHub repository, and the notebook has access to the files within. You can commit changes by selecting the Source Control tab at left, pressing the Commit button, and confirming. Commits go to the source repository if you own it, and a fork if you do not.
Dev Container File
To tell a Codespace to spawn notebook environment and display a notebook within it, authors must add a development container (“dev container”) file to their notebook repository, which specifies the notebook path and configuration details. Typically, a dev container file is named .devcontainer.json and is in the root of the repository. We suggest the following minimal dev container file, which loads a Jupyter-based environment and opens the specified notebook file:
{
  "postAttachCommand": "code /workspaces/<repo-name>/<notebook-path>",
  "customizations": {
    "vscode": {
      "extensions": [
        "ms-toolsai.jupyter",
        "ms-python.python"
      ]
    }
  }
}
Replace <repo-name> and <notebook-path> with the name of your repository and path to your notebook file. For example:
"postAttachCommand": "code /workspaces/simple-notebook/notebook.ipynb",