Migrating Your Existing Tools to Use GitHub Apps
Note
Our docs sometimes use “GitHub App registration” and “registration with a .dockstore.yml file” interchangeably, as they are equivalent terms. The Dockstore GitHub App and a .dockstore.yml file are two components of the same registration method.
Dockstore 1.12 provides users with a way to keep their tools automatically updated (instead of needing to manually refresh) by using GitHub apps. Registering a new tool with GitHub Apps is very similar to registering a new workflow with GitHub Apps.
Before deciding to migrate your existing tools, consider the following differences between an existing Dockstore tool and a GitHub App tool:
Differences |
Legacy Tool |
GitHub App Tool |
|---|---|---|
Use case |
|
|
Versioning |
Based on image’s tags |
Based on GitHub repository’s branches/tags |
Tool Path |
Docker image location |
GitHub repository location |
Languages |
Supports CWL and WDL tools |
Only supports CWL |
If you’re familiar with the process of migrating your existing workflows to use GitHub Apps, note that the migration process for tools is different because of these fundamental differences between existing tools and GitHub App tools. The migration process for tools will not convert your existing tool into a GitHub App tool. Instead, you will be creating a new GitHub App tool, then either deleting your existing tool or providing a link to your new GitHub App tool from your old tool. You may wish to consider the latter if you have users that have bookmarked it or if you have papers that link to the old tool. More information on that here.
Install the Dockstore GitHub App
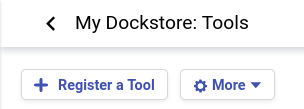
Installing the GitHub App is simple. Navigate to /my-tools, /my-workflows, /my-notebooks, or /my-services by navigating to My Dashboard then selecting the desired option in the left sidebar. In these screenshots, we will go via /my-tools, but the process is essentially the same for any of the other options.

Click the Register a Tool button on the left hand sidebar.
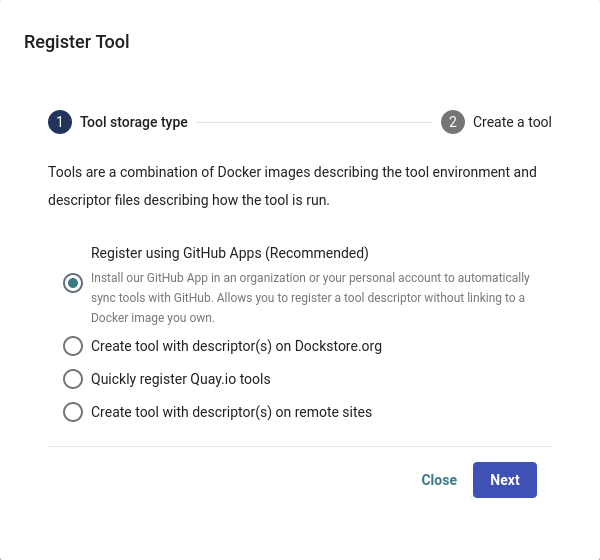
A window will appear asking how you would like to register your tool, workflow, or service. Select Register using GitHub Apps.
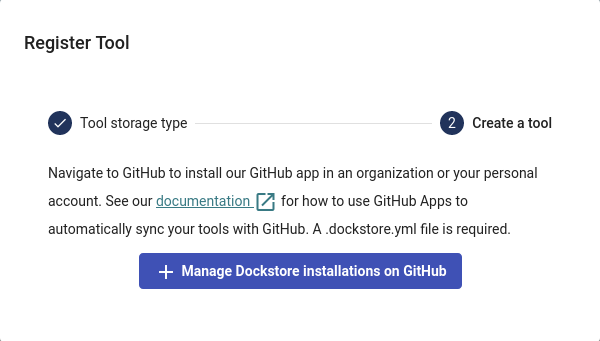
Click + Manage Dockstore Installations on GitHub.
You’ll then be redirected to GitHub where you can install the app in an organization or your personal account. For example, the username for my personal GitHub account is aofarrel. If I want to install the GitHub App so it could access aofarrel/mycoolrepo, I would choose the first option here.
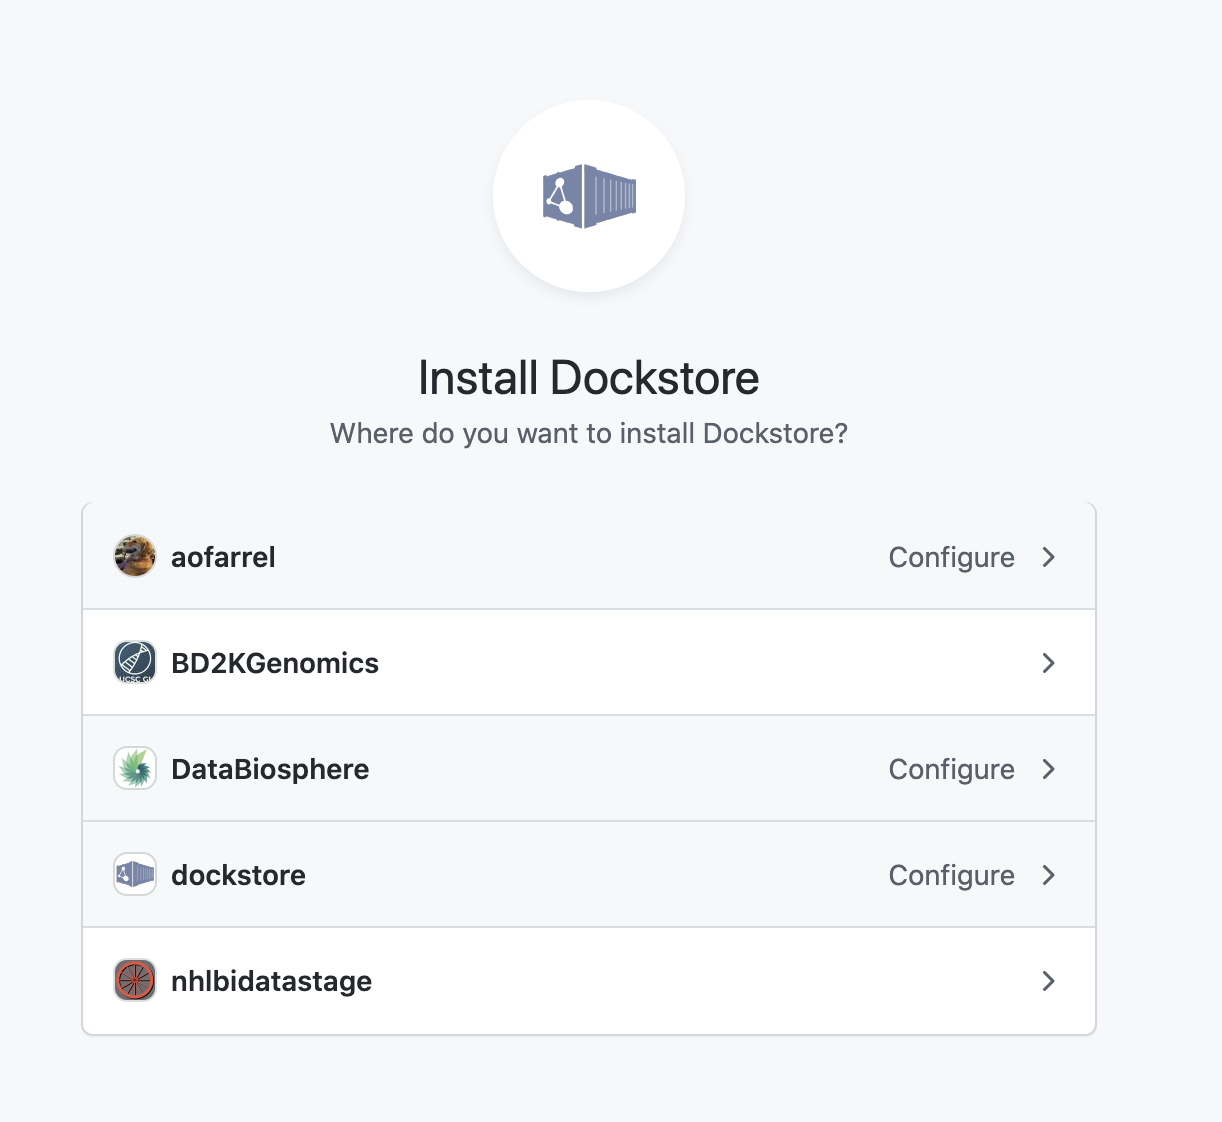
Install our GitHub App in an organization or your personal account
After selection of an organization or a personal account, you can select whether to give access to all current and future repositories or only select ones. If the organization or personal account you choose is intended to be just for Dockstore tools/workflows/services/notebooks, you may want to allow access to all repositories. Otherwise, it may be more intuitive to select only certain repositories. Click save and you will be taken back to Dockstore.
Important
The GitHub user who first adds a workflow onto Dockstore must correspond to a user on Dockstore.
You will then see the landing page which will have handy tips on how to structure your .dockstore.yml, recommended actions for previously added repositories, and a link to automatically generate a .dockstore.yml.

If you click on the “Generate” link, you will find a wizard that lets you use a .dockstore.yml that Dockstore will generate (using a best guess) using the contents of your repository.

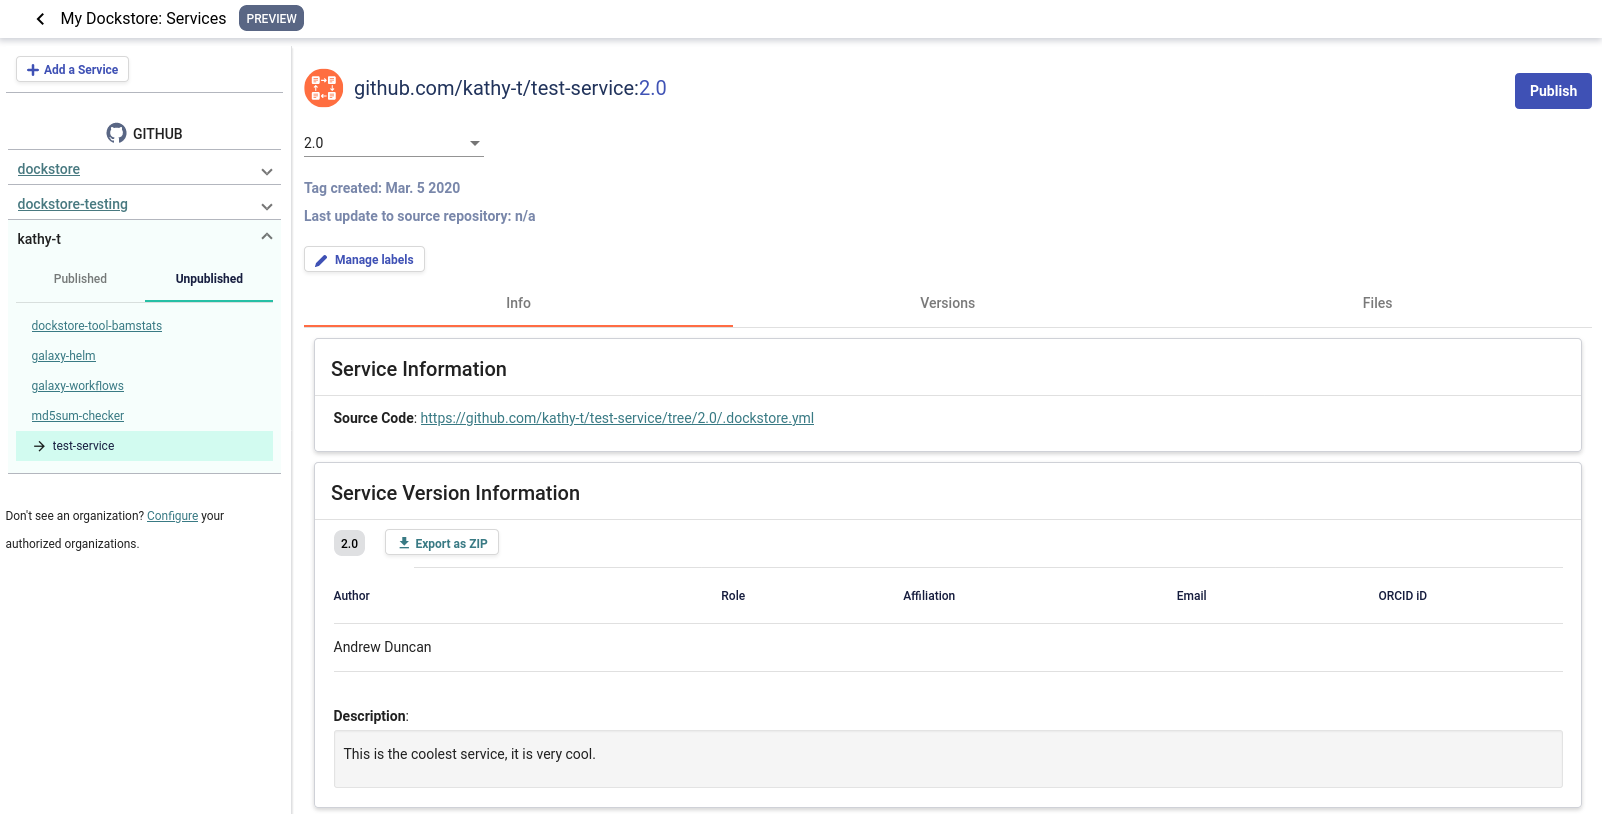
On Dockstore, under the GITHUB section, you should see the names of GitHub accounts that you have access to, such as organizations that you belong to and your personal account. If your repositories that you chose to keep track of contained a .dockstore.yml at the time of installing the GitHub App, then you will see the repositories under the GitHub personal/organization account name that it belongs to. Here’s an example involving /my-services:
A note on permissions when installing the Dockstore GitHub App to a GitHub organization
Only organization admins and repository admins can install the Dockstore GitHub App.
Organization admins will have the easiest time installing the Dockstore GitHub App because they can install it to any repository in the organization on the installation page. Users who are not organization admins can only install the Dockstore GitHub App on repositories that they are an admin of.
For more information on troubleshooting GitHub App permissions, please see this FAQ entry.
See also
Automatic Syncing with GitHub Apps and .dockstore.yml - details on writing a .dockstore.yml file
Migrating Your Existing Workflows - a tutorial on converting already registered workflows
Troubleshooting and FAQ - tips on resolving Dockstore Github App issues.
Ensuring sychronization
Upon installing the GitHub App, Dockstore will find branches in your repository that contain a .dockstore.yml and attempt to register your workflows, tools, services, and notebooks. There may be some cases where Dockstore is unable to find all branches containing a .dockstore.yml, for example, if the GitHub repository has many branches.
If your workflow, tool, service, or notebook is not showing up on Dockstore after 5 minutes, push one additional commit to the branch in your repository that contains the .dockstore.yml that’s not being synchronized. Dockstore will synchronize the branch that was updated, which helps make sure that your workflows, tools, services, and notebooks show up in Dockstore.
If your workflow, tool, service, or notebook still doesn’t show up, check the GitHub App logs to see if Dockstore encountered an error while processing your .dockstore.yml.
Creating a .dockstore.yml File
The next step is to create a .dockstore.yml file. We’ll cover a very straightforward example first, but depending on how you configured the tool during registration and whether your GitHub repository houses multiple tools published on Dockstore, there will be additional steps to writing your .dockstore.yml file.
Let’s say we have the following CWL tool registered on Dockstore that came from this repository and you would like to convert the master branch.
As noted in our other documentation, create a .dockstore.yml file in the root directory of the branch you want to migrate (in this example, it’s the master branch) in your repository. The file should look like the following:
version: 1.2

tools:
  - subclass: CWL
    primaryDescriptorPath: /runGlobalAligner.cwl
    testParameterFiles:
        - /test/globalAligner.cwl.json
    authors:
        - name: Bob Generic Example
          email: makesuretofilloutanactualemailaddress@ucsc.edu
    topic: A short description of the tool
The information above was filled out using the following:
subclassis based on the descriptor language your tool is described in. In this case, the tool is described in CWL.primaryDescriptorPathis the path to the CWL descriptor file.testParameterFilesis the path to any test parameter files.
The name Field
If you have more than one tool in the same repository, the name field must be filled out for each individual tool’s section in your .dockstore.yml file. This is to ensure that the tool paths are unique – as mentioned in the table above, tool paths are based upon the GitHub repository, so tools without a name in the same repository would have the same path, which we want to avoid. (Strictly speaking, you can leave one of the tools’ name fields blank if you would like, but make sure that all other tools in your repository have a name.)
If you registered your tool using the Web UI, you may have filled out the Tool Name field shown in the picture below.
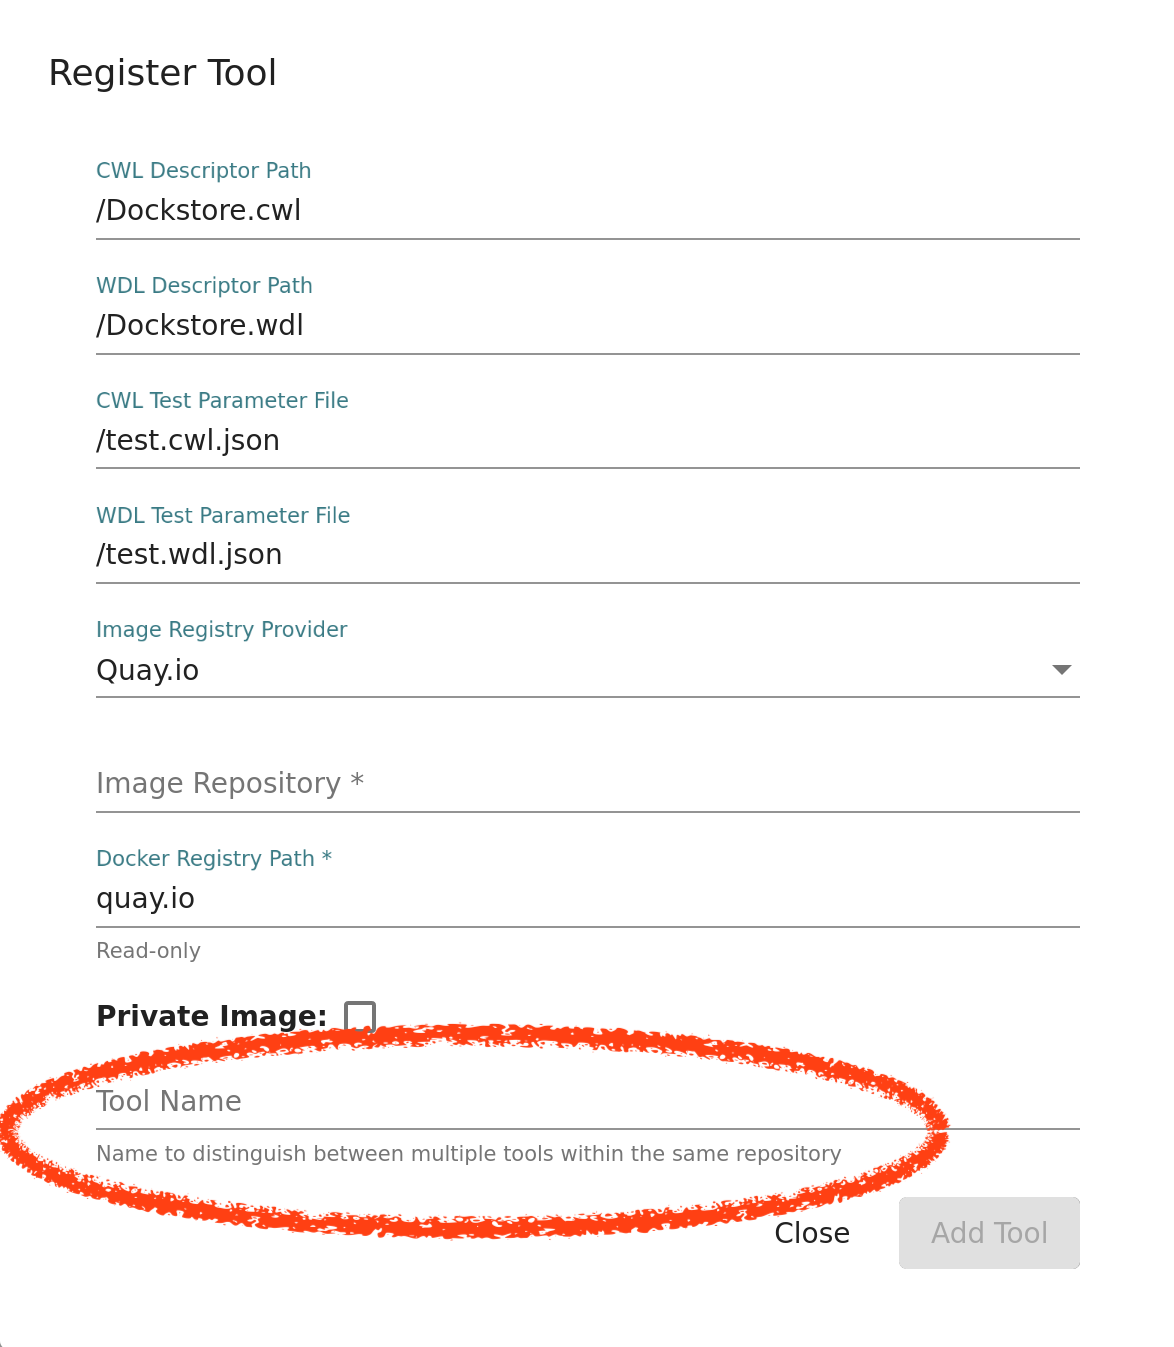
This field is required when you want to register multiple tools from the same repo or provide multiple languages for your tool, but you may have filled it out for other reasons.
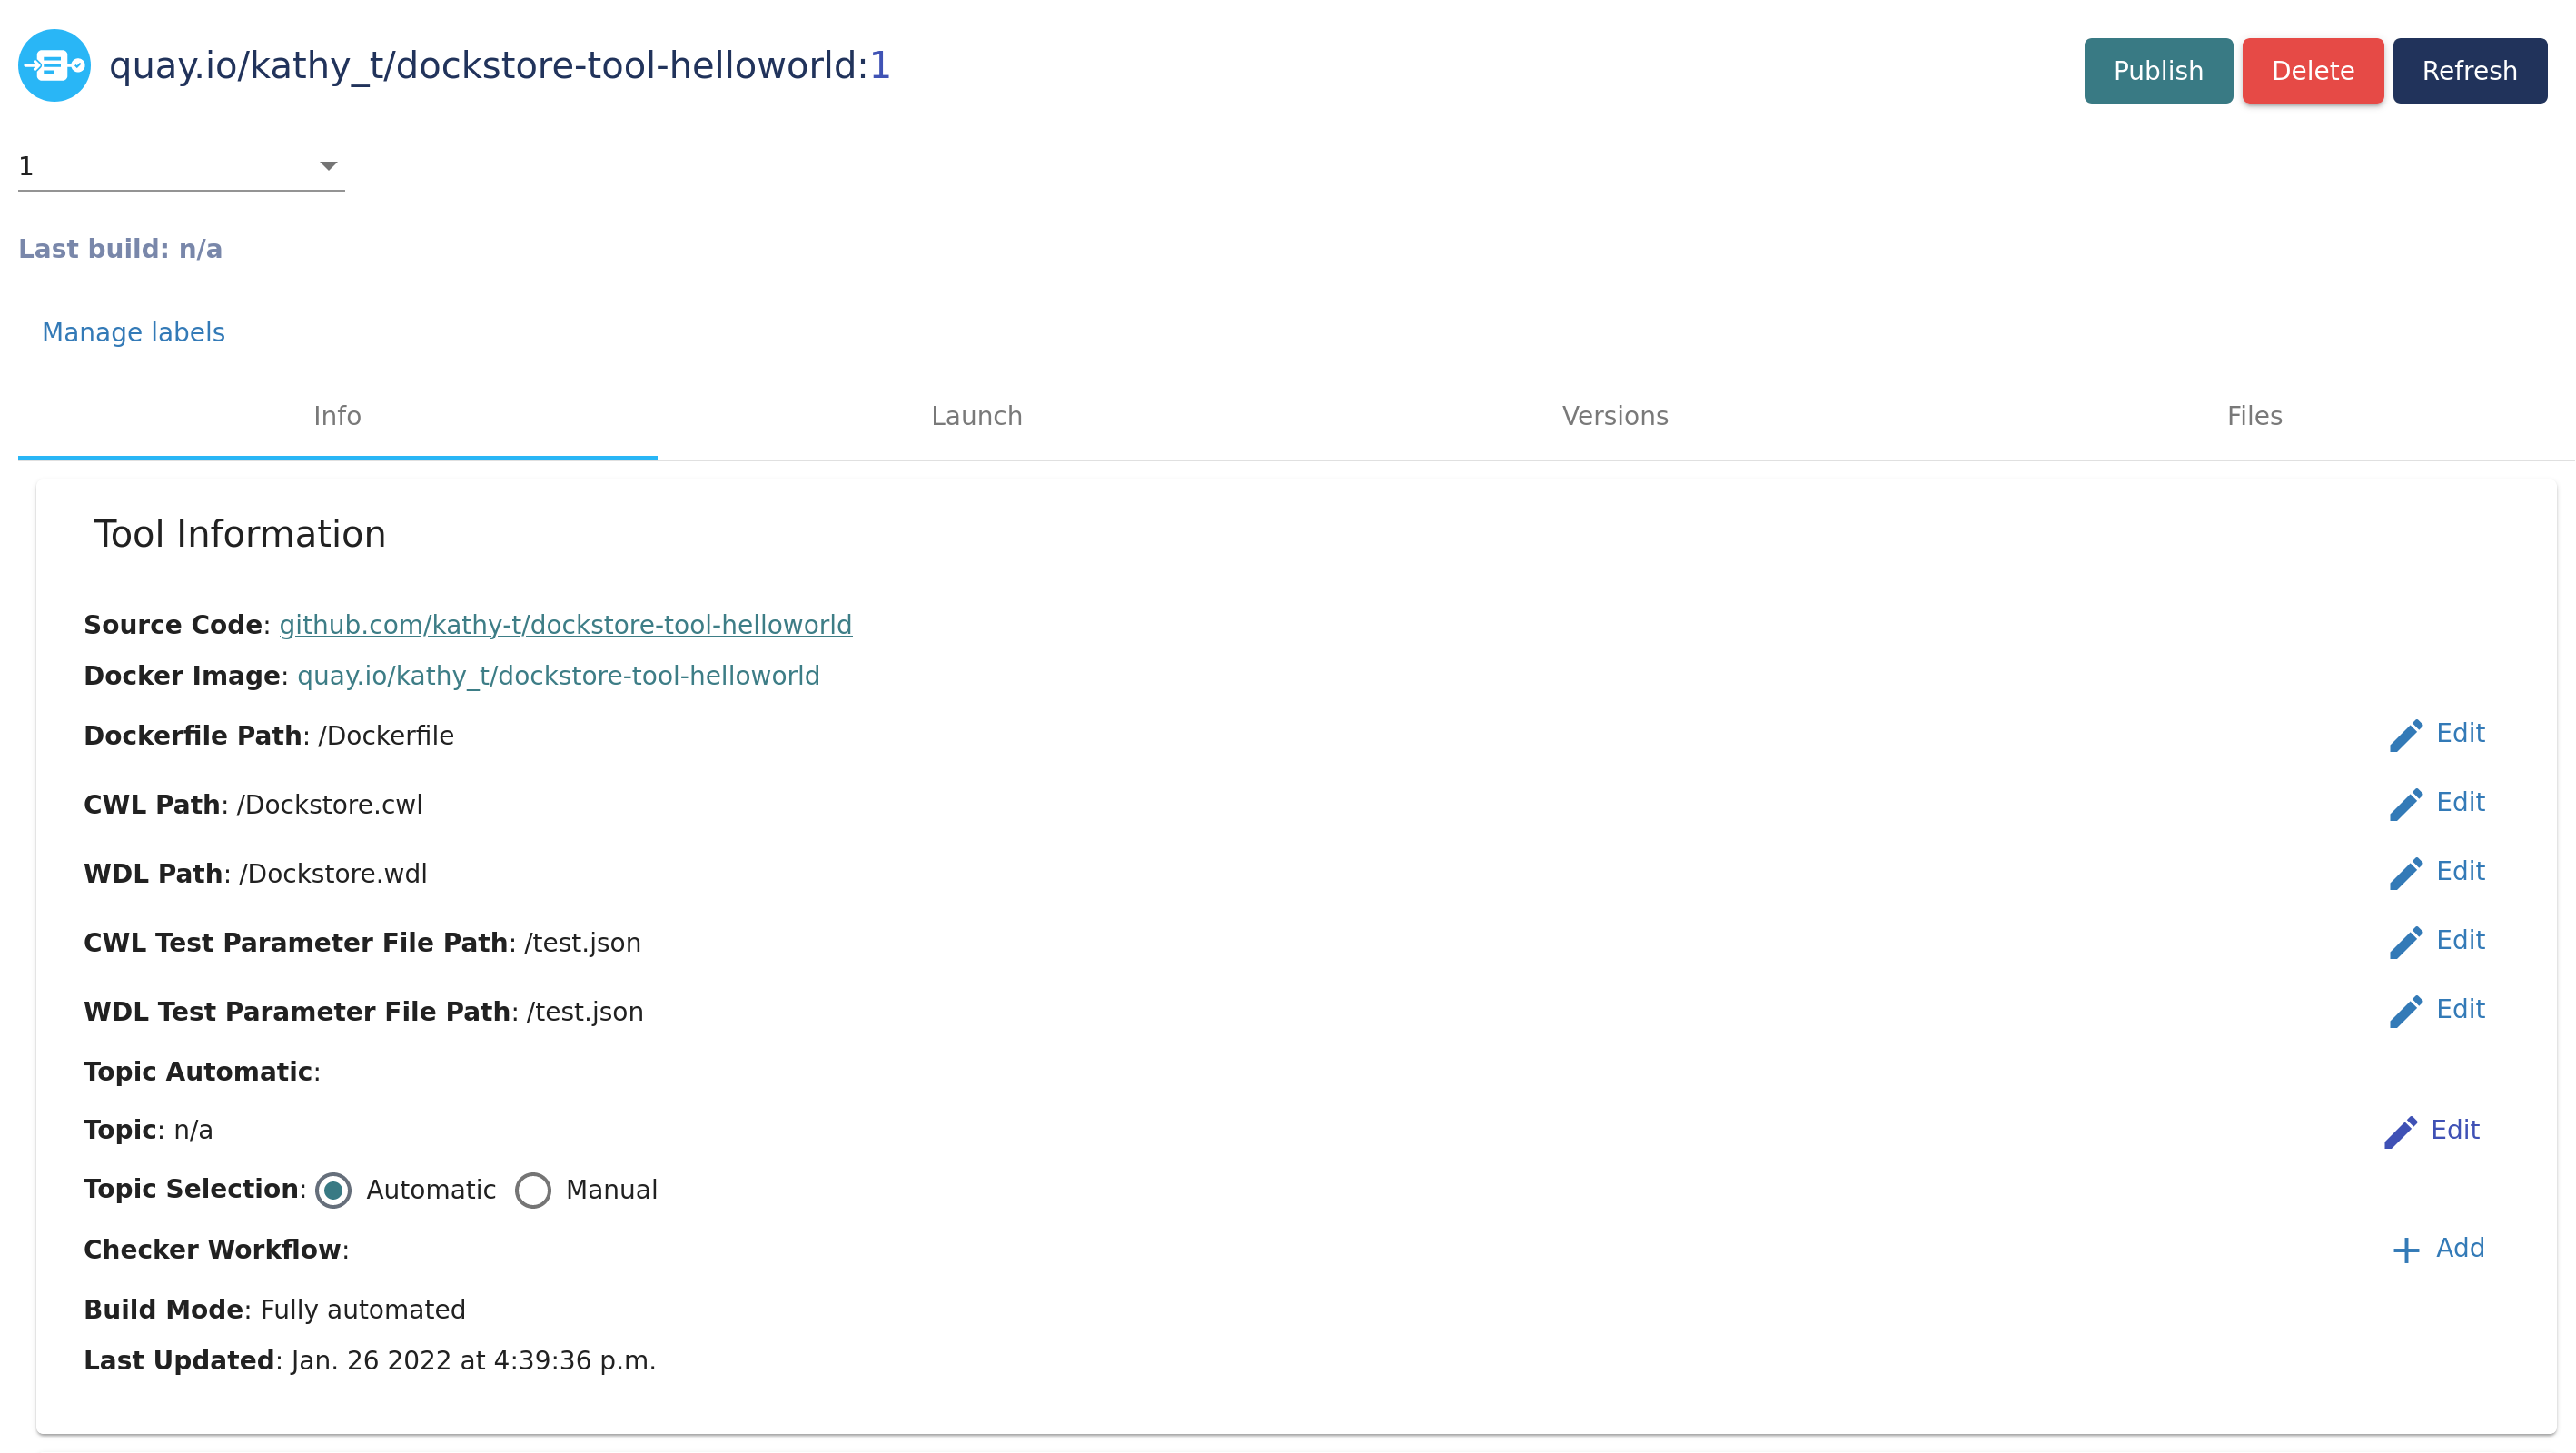
To check if the tool you want to migrate has a tool name, select the tool’s entry on Dockstore and look at the title on top. The title consists of:
<image registry>/<organization name>/<repository name>/<optional tool name>:<version name>
If you see a tool name inserted, you must include the name field in your .dockstore.yml file for the transfer to work correctly.
version: 1.2
tools:
  - name: globalAligner
    subclass: CWL
    primaryDescriptorPath: /runGlobalAligner.cwl
    testParameterFiles:
        - /test/globalAligner.cwl.json
    authors:
        - name: Bob Generic Example
          email: makesuretofilloutanactualemailaddress@ucsc.edu
    topic: A short description of the tool
If you have multiple tools registered on Dockstore that stem from the same GitHub repo, a single .dockstore.yml can be used to convert them. For examples of this, check out our template .dockstore.yml files
Your New Entry in Dockstore
Once you’ve adding a .dockstore.yml to the desired branch of your repository and installed the app, you should see a new tool appear on your /my-tools page. The tool path will start with github.com and
you should see that the Tool Information section looks a bit different from your existing tool.
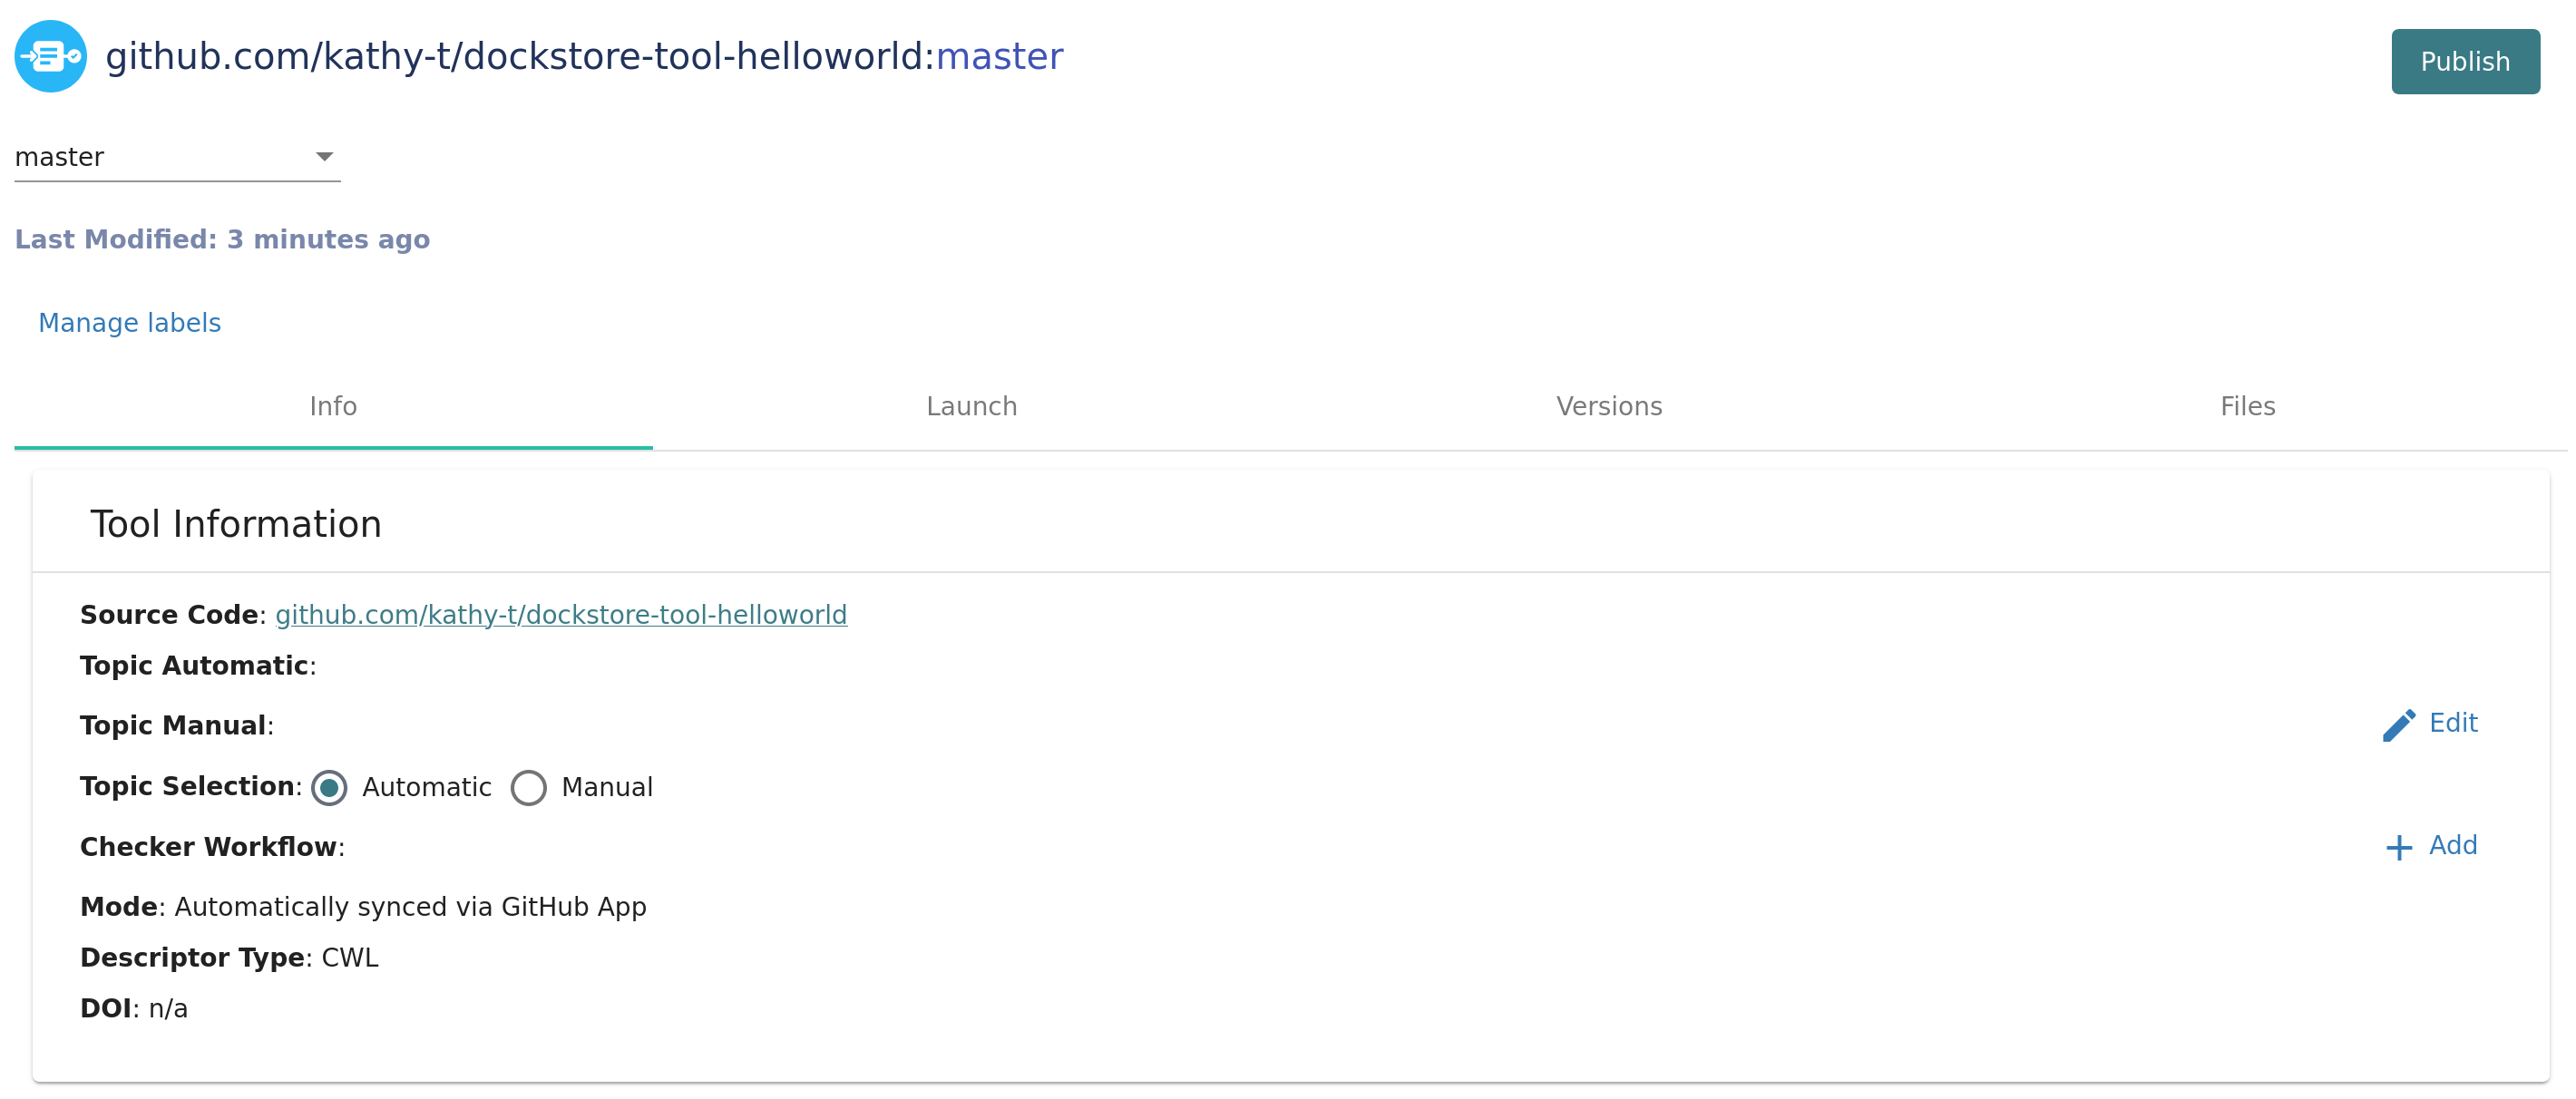
The mode is Automatically synced via GitHub App instead of one of our three build modes, and information about paths and your Docker Image is no longer included.
You are also not able to refresh or restub the new GitHub App tool. Since you can’t refresh the entire tool anymore, new versions from GitHub (releases/branches) that you want to add to Dockstore must have a .dockstore.yml file.
Archiving or Deleting Your Existing Tool
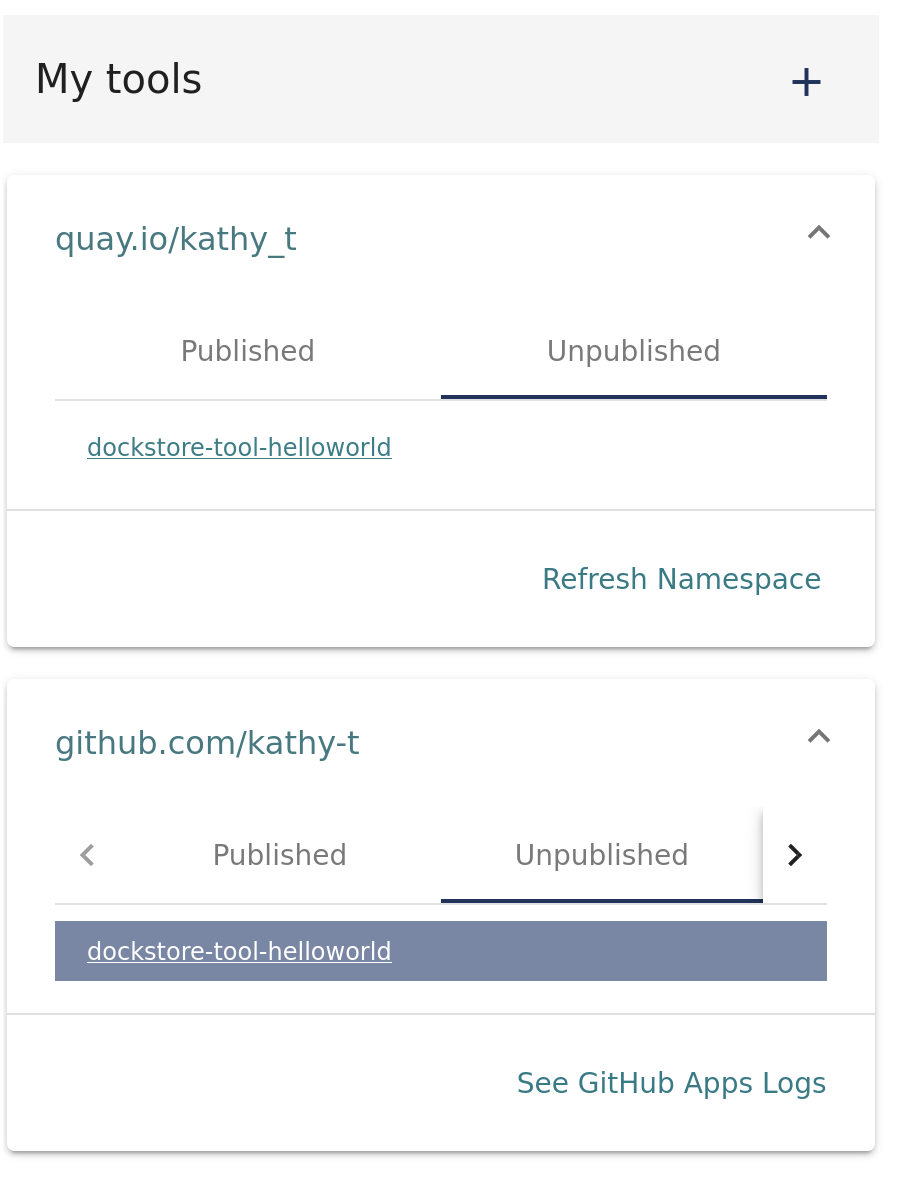
If you look on the left hand side bar, you should see that your old tool still exists. Your new GitHub App tool will start with github.com, and your old tool will start with
the Docker registry, which is quay.io in this case.
At this point, you must decide whether you want to keep your old tool around. You may want to keep it if you want to preserve the link to the tool. For example, you may choose to keep the tool if this tool was linked in a research paper and other people might visit the tool’s page.
If you need to keep your old tool, then we recommend that you link to your new entry. You could do this in multiple ways:
Add a short description to your GitHub repository’s README indicating where the new GitHub App tool can be found on Dockstore. You may also indicate whether your old tool will be kept up to date on Dockstore through refresh. Once a short description has been added, navigate to your old tool’s page and click
Refreshto update your tool’s description with the new information. Reverting that commit and then not Refreshing the old tool from then on will keep that notice in the tool’s description on Dockstore.Create a new version/branch that has the new link in the readme and hide that version in the new Dockstore entry so that it only appears in the old entry
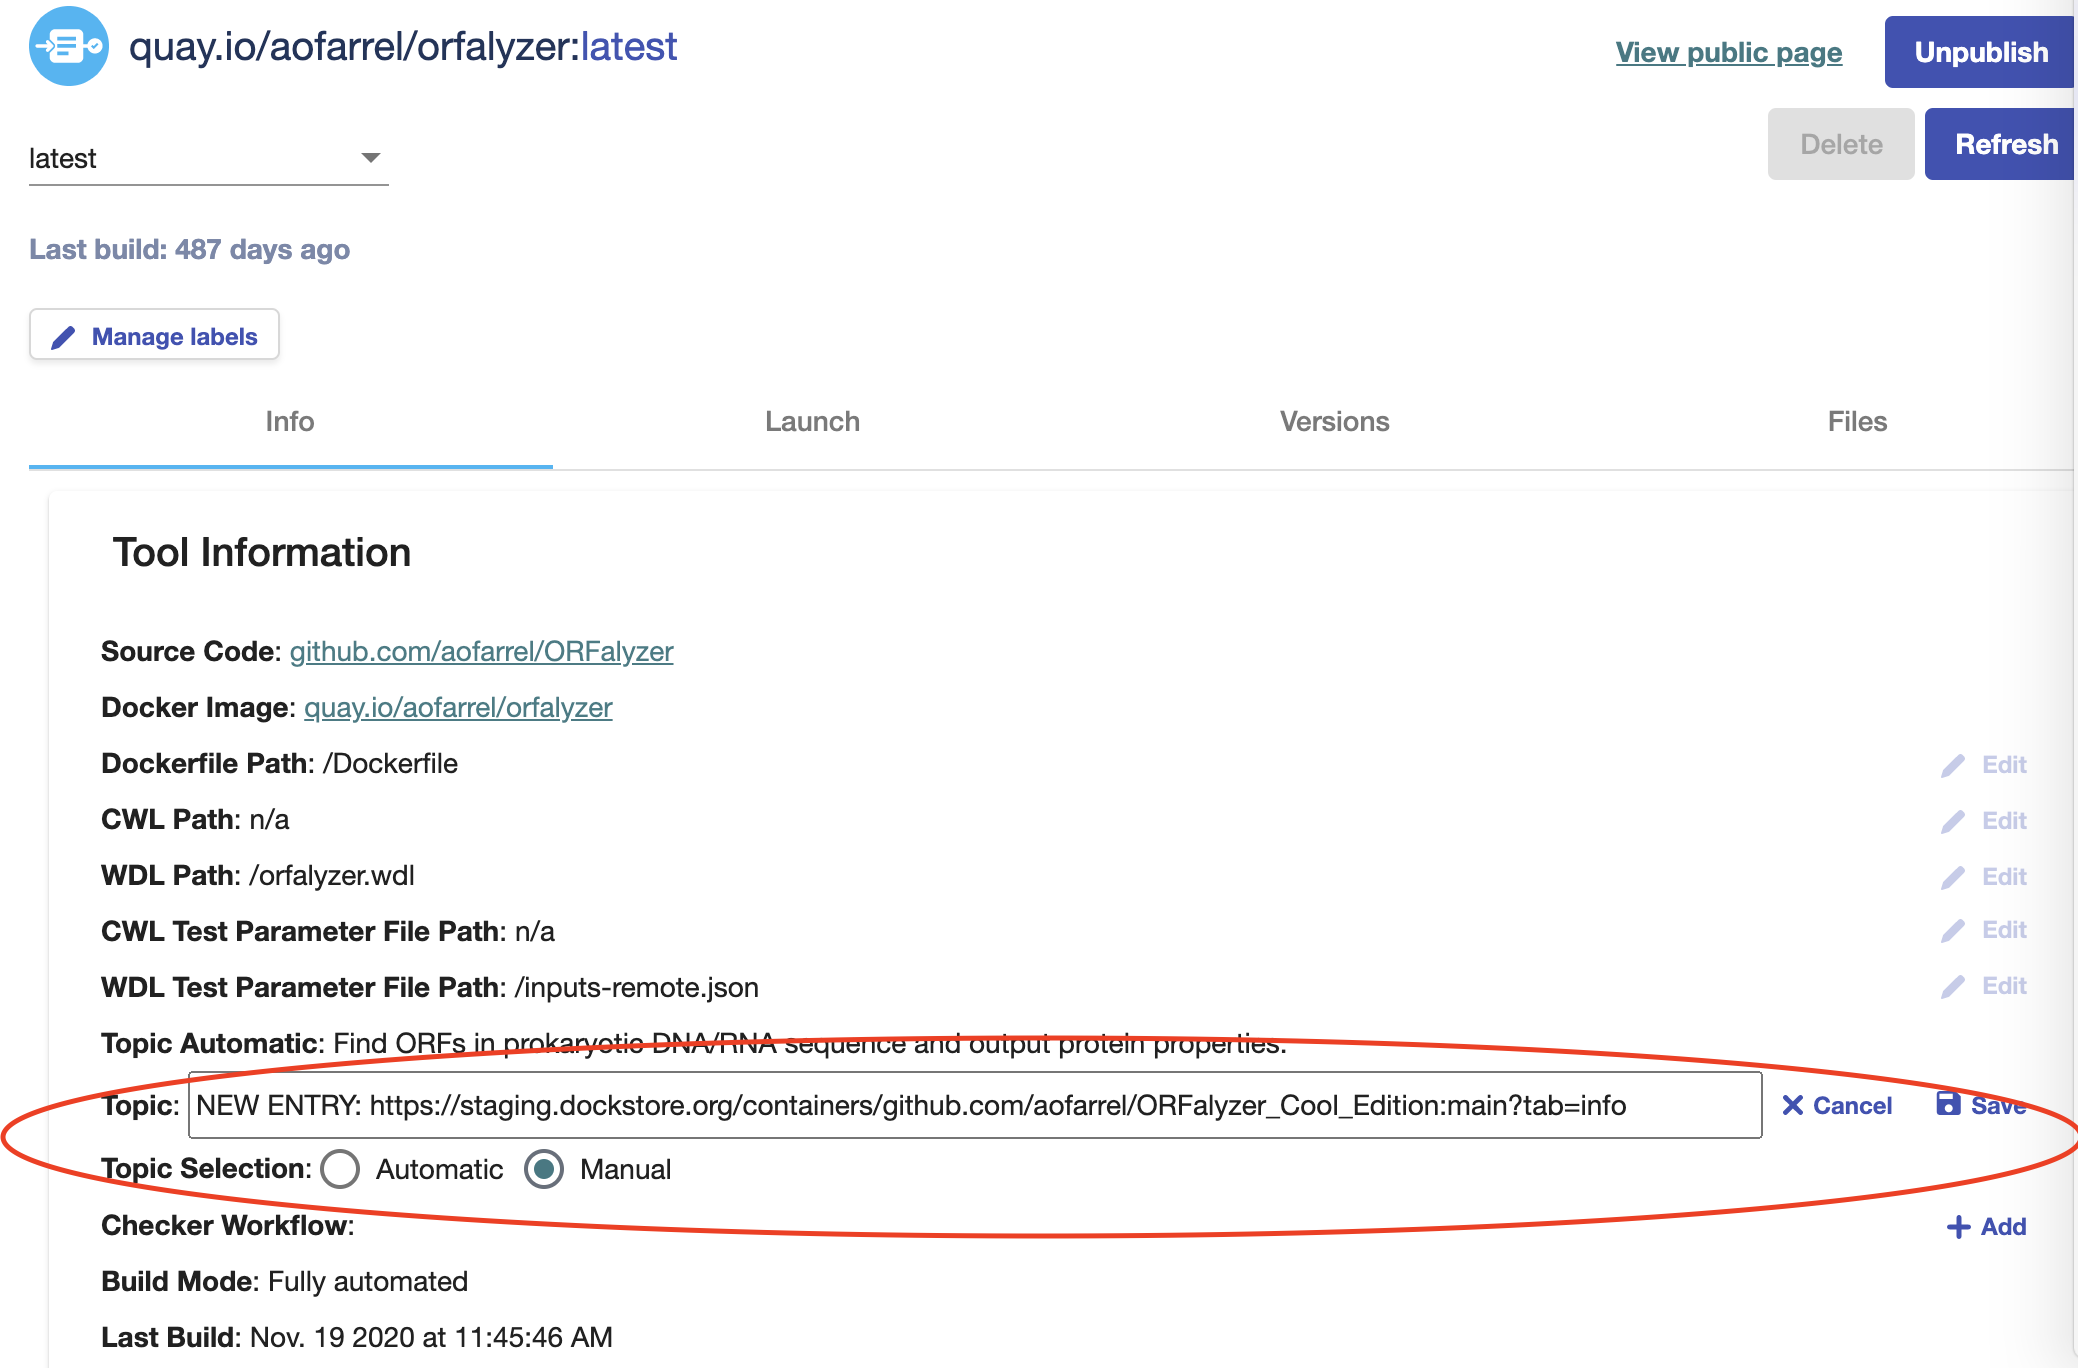
Set “topic” to “manual” in your old entry and include the URL of your new entry within the text field.
If you do not need to keep your old tool, you can simply delete it.
To delete your old tool, navigate to the tool on your My Tools page. Published tools cannot be deleted. If your tool is published, press the Unpublish button in the upper right corner.

Once your tool is unpublished, you should see that the Delete button is enabled. Press the Delete button to delete your tool.

See also
Troubleshooting and FAQ - tips on resolving Dockstore GitHub App issues.